

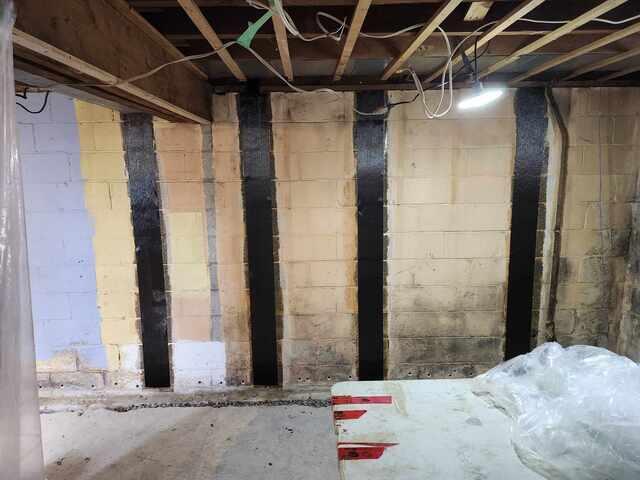
Carbon Armor
7" wide carbon fiber strips are adhered tot he wall with epoxy.
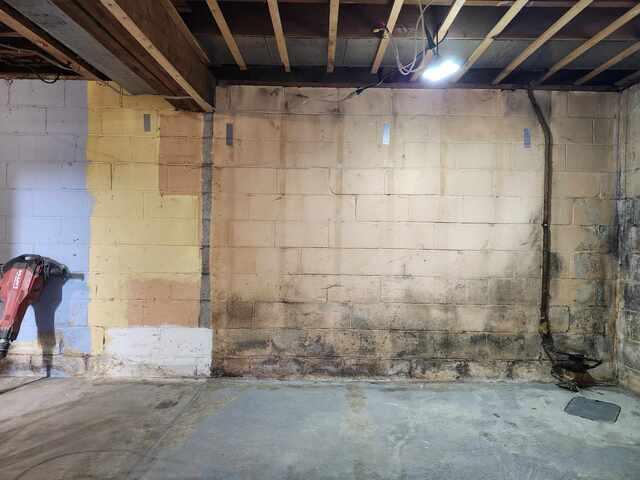
Wall is prepared
The wall is prepared by grinding down the area where the epoxy will go.
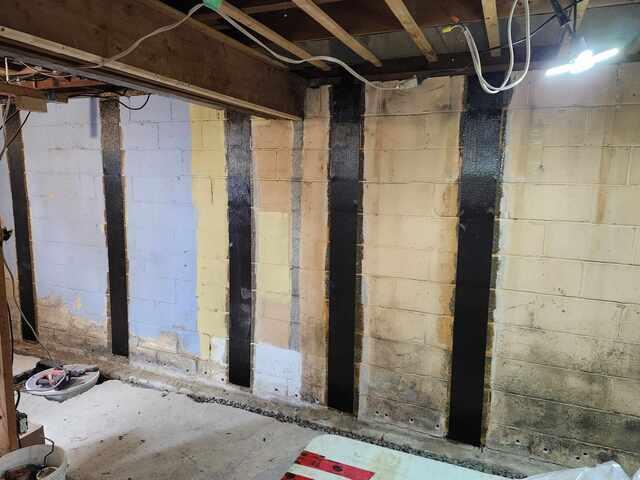
Carbon fiber applied
The strips are applied to the wall
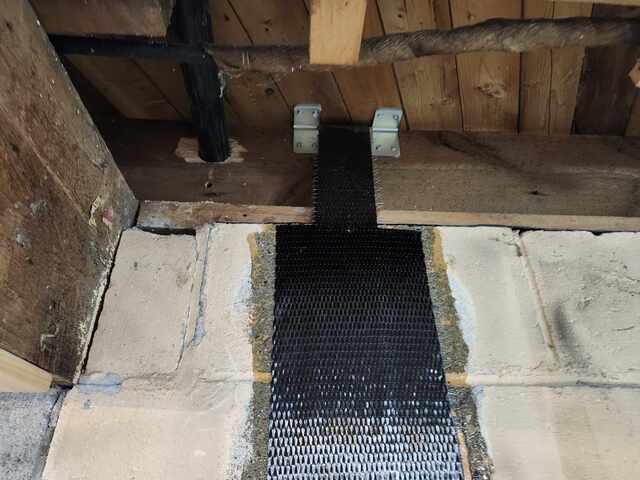
Armor Lock
The wall is tied to the rim joist and floor system using this bracket specifically designed for us to hold the carbon fiber strip.
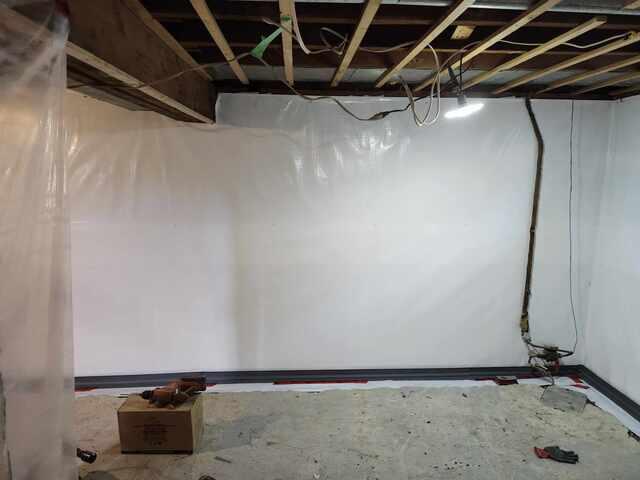
Waterproofing membrane on wall
The area is then covered with a waterproofing membrane to allow moisture to get drained to the waterproofing system below.