
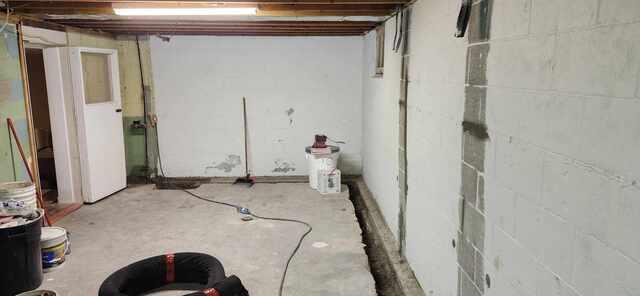
Core filled with grout
The bottom 4 rows of block are core filled with grout to further stabilize the walls
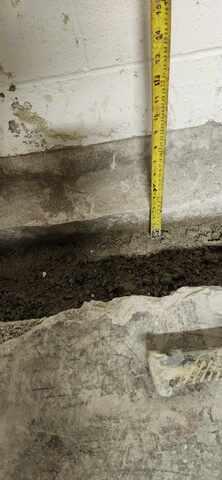
Trench is opened up
A trench is opened to add waterproofing
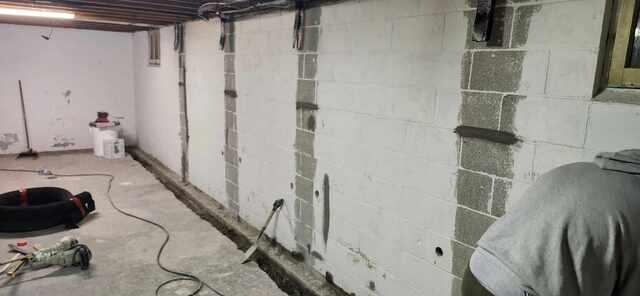
Wall is ground crean
A scarifier is used to grind of all paint and other impurities.
Wall is started to be prepared
Preparation is key to the adhesion of the Carbon Armor
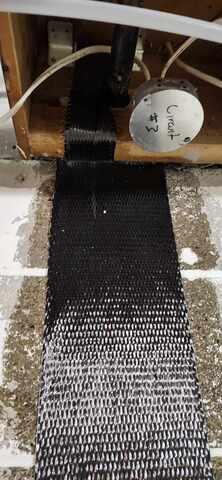
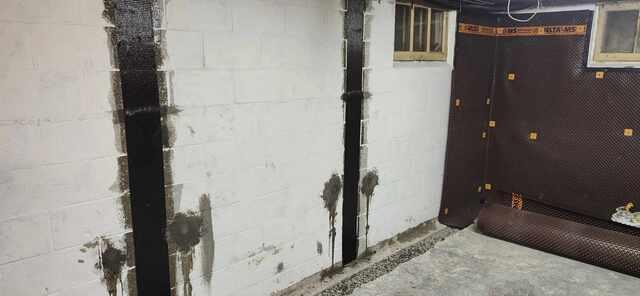
Carbon Armor is added
The Carbon Fiber is added and epoxy is applied over top.
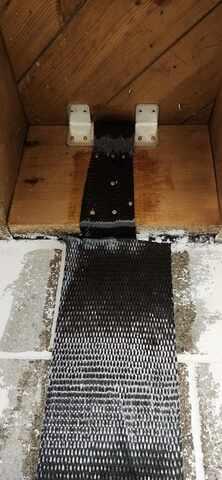
Armor lock
The Armor lock provides extra stability to the wall by locking it to the joist header.
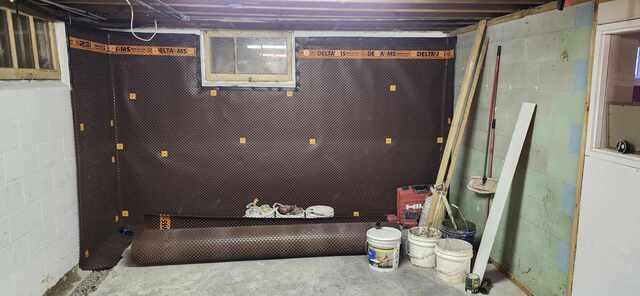
Wall membrane
The wall membrane is attached over top to direct any moisture into the waterproofing system.