

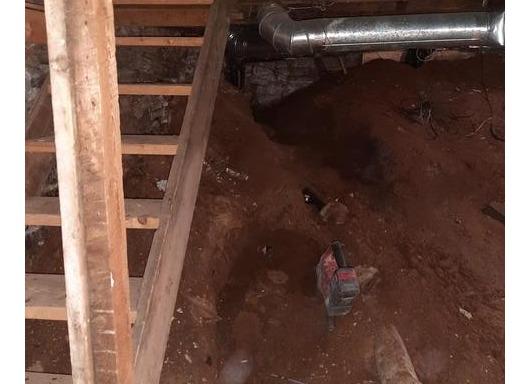
Digging hole for base
The first step is to dig a footing and add gravel to support the SmartJacks
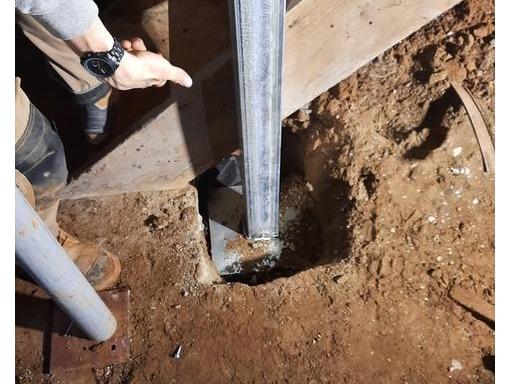
Watching for obstructions
Sometimes we can run into things like pipes or other obstructions when adding the footings
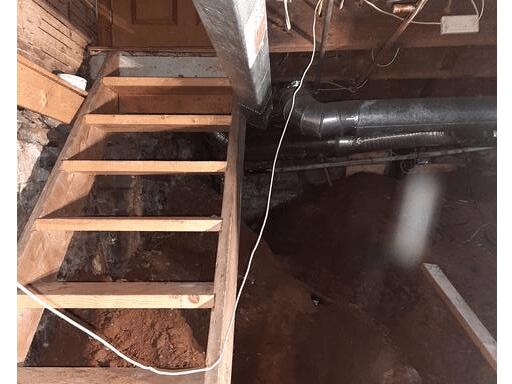
Large footing
A Large footing is added to the soil to properly support the SmartJack
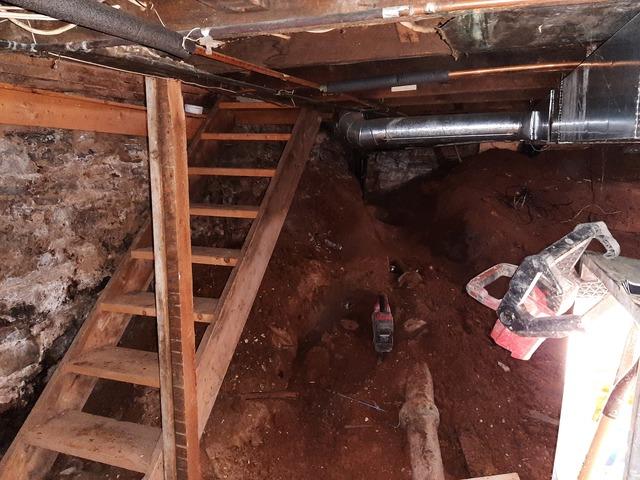
Supplemental Beam
This galvanized beam is put in place before the jacks are installed to support it.
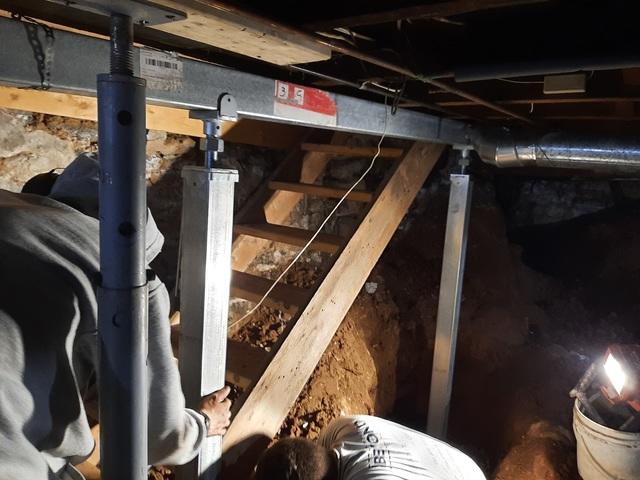
Connecting the Smartjacks to the Supplemental Beam
The SmartJacks are engineered with galvanized connectors to connect the beam and make them adjustable properly.