

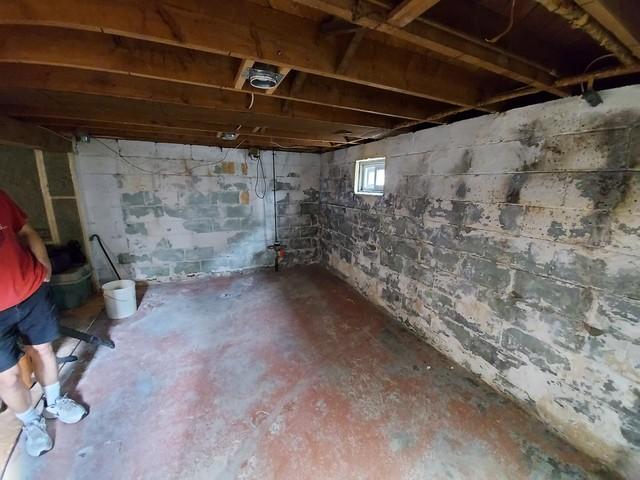
Driveway side wall is bowing
From weight of cars or frost, the driveway side of the house is bowing.
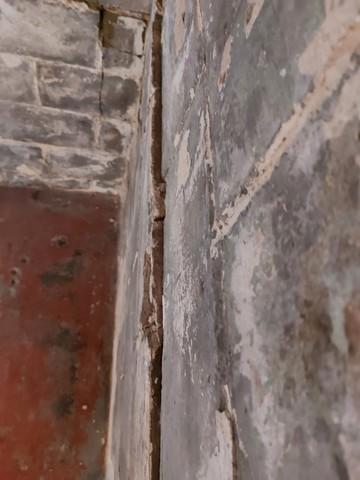
Horizontal cracking
Horizontal cracking in a block wall is sure signs that your wall bowing.
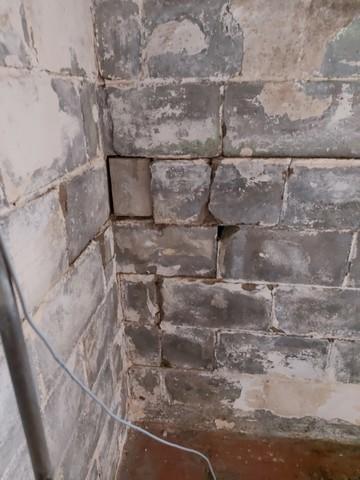
Bad corner
Quite often the corners show the most damage from a bowing wall.
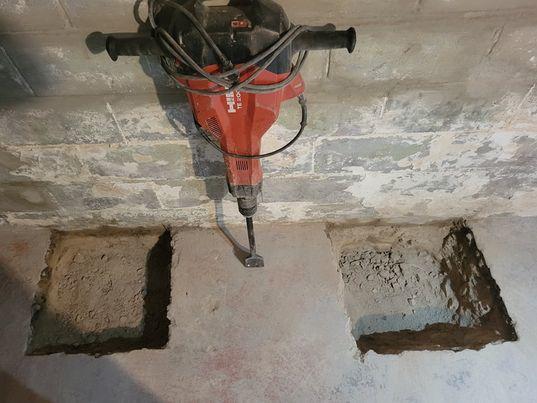
Preparing for footings.
The floor is opened up to expose the footings and to create a solid base for the PowerBrace
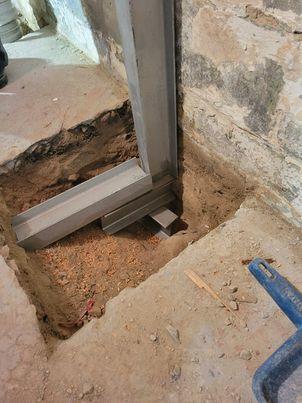
Footings
Because the concrete floor is thin, this style of footing was ordered by the engineer.
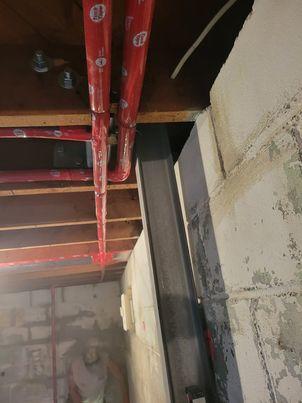
Powerbrace spacing
PowerBraces are spaced approx 5 feet apart and also installed in the corners.
Deflection
This shows the amount that the wall has moved over time.
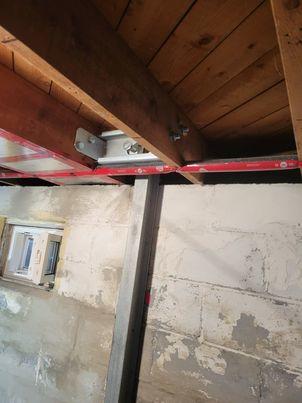
Bridge bracket
At the top of the PowerBRace, a bridge bracket is used to secure and adjust the I-beam over time. THe bracket bridges between 2 floor joists to give more strength
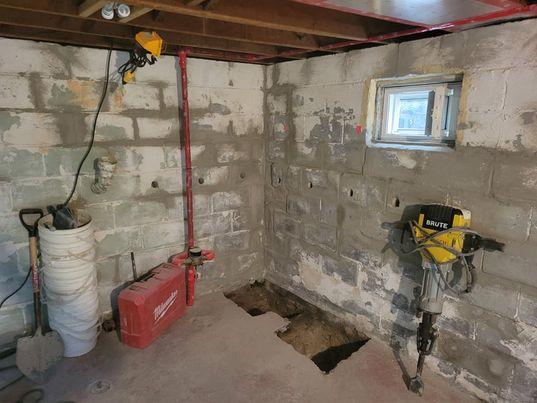
Grout holes
Holes are drilled into the cavity of the blocks to fill the blocks with grout. This will solidify the lower blocks.
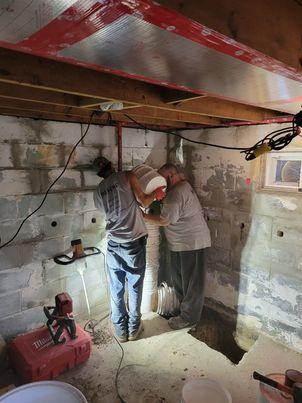
Installing Grout
Team members squeeze Fiberglass reinforced grout into the holes that will fill the block cavities
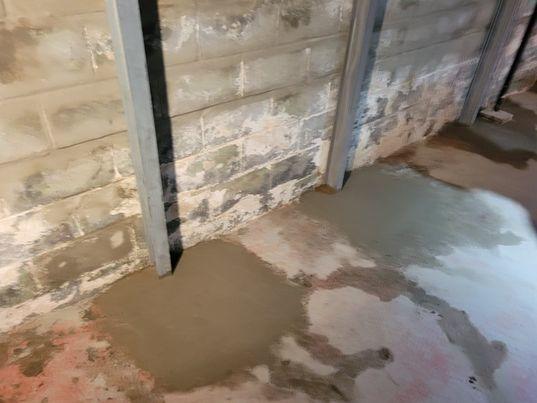
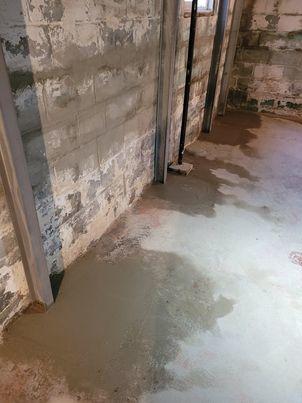
Finished Floor
The concrete is restored around the PowerBrace