
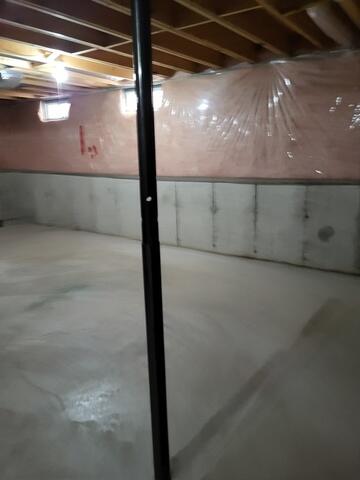
Before
This is a 1980s style home that had cracks in the foundation.
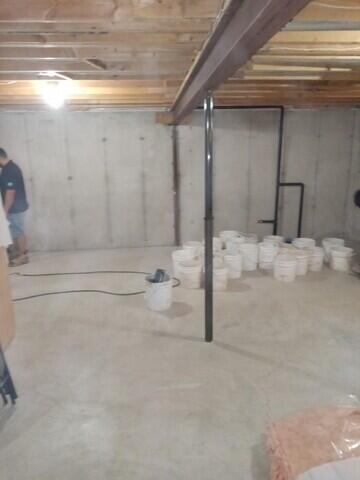
Insulation removed
First step is to remove the insulation blanket.
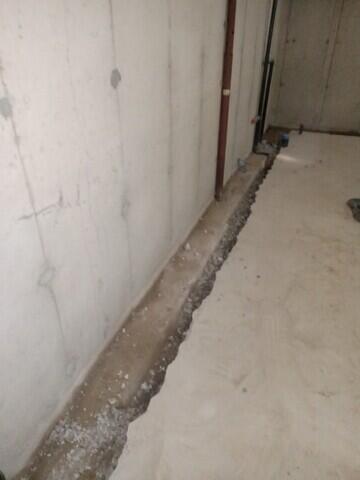
Trench is opened up
THe trench is opened up along the wall so that the patented Waterguard can be installed
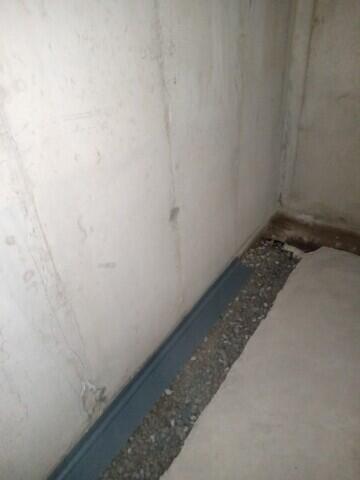
Waterguard
Waterguard drainage system is set in place along the trench

Wall membrane
A wall membrane is installed and the trench is re-concreted

Sump pump installed
Our own Supersump sump pump system is installed tp drain and pump away the water.