
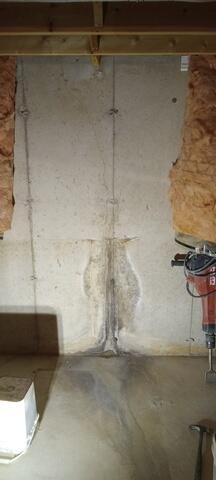
Wall crack that is leaking
This is the first of many wall cracks that are leaking
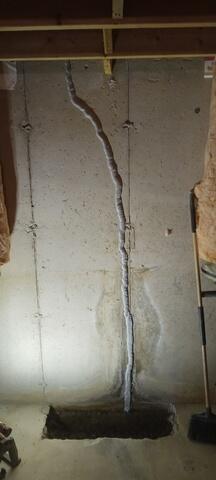
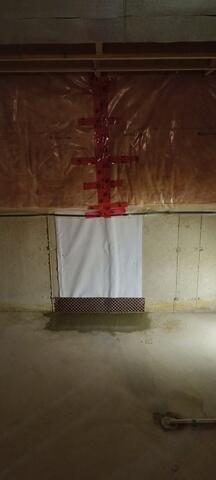
Flexispan sealant in crack
Step 1 is to fill the crack with a flexible sealant
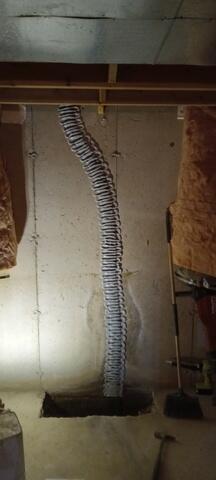
Step 2 & 3
`Step 2 & 3 is to apply a 4" wide drainage foam over the area andthen another coat of the flexible sealnt
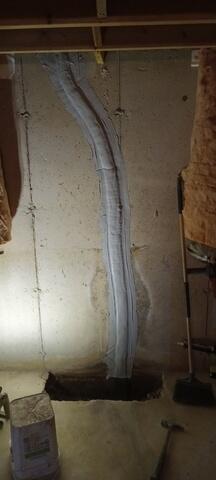
Flexible sealant troweled
The sealant is then troweled over the foam.

Cleanspace
a 4th layer is applied over the entire area.
Re-concrete the floor
The last step is to re-concrete the floor back to original height