
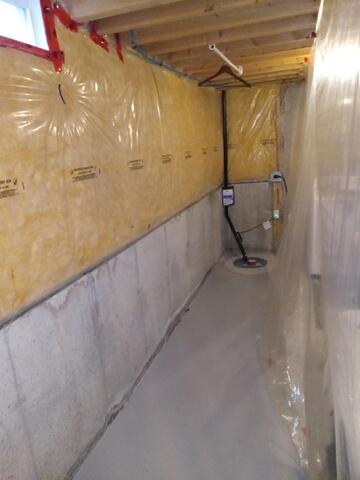
Before the system
Signs of water is showing on the footing wall joint.
Floor opened
A Jack Hammer is used to open the floor for the WaterGuard.
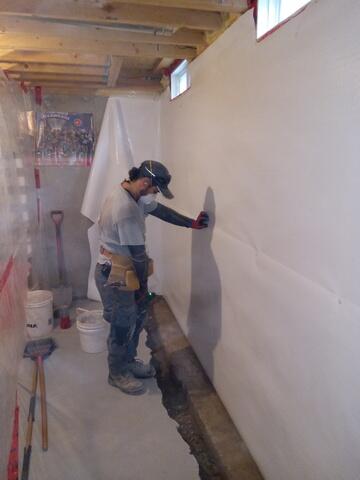
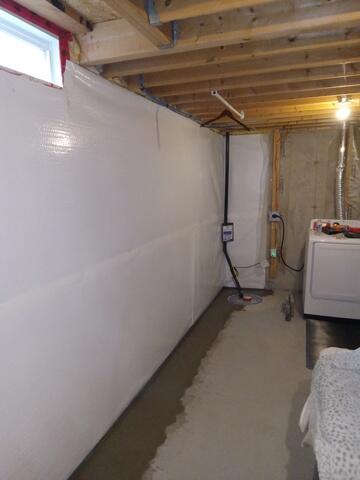
Cleanspace Wall membrane
Cleanspace wall membrane is attached to the wall to drain any future wall cracks down intot he system
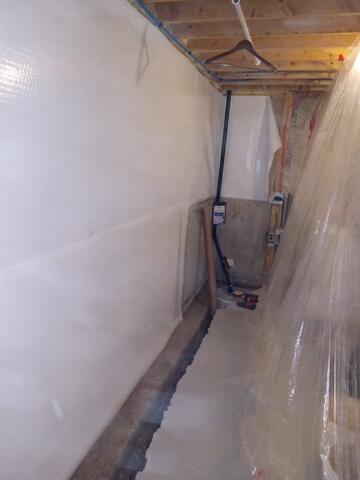
WaterGuard is trench
WaterGuard is set in place and the floor is ready to be restored.
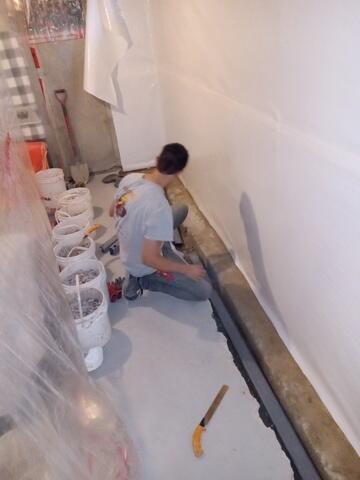
Floor is restored
The Floor is restored to original height and the system is finished. This area now has a lifetime, fully transferrable warranty.