
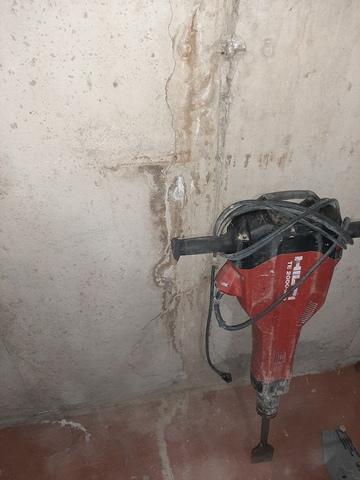
Exposing the footing
The first step is to open up the floor and expose the footing and the gravel bed past the footing.
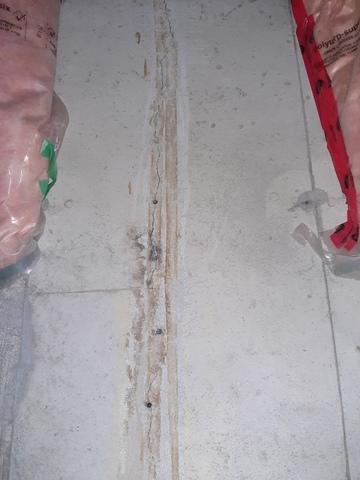
crack is sealed
The crack is sealed with a flexible sealant.
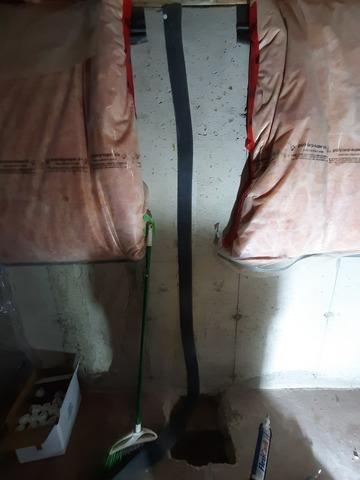
Flexible sealan t
Over the drainage foam another layer of flexible sealant is troweled over
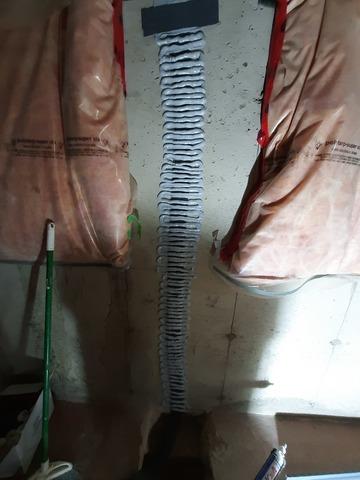
Drainage foam.
After the first sealant goes into the crack, a 4" wide open cell drainage foam goes over top to make sure no water can get by.
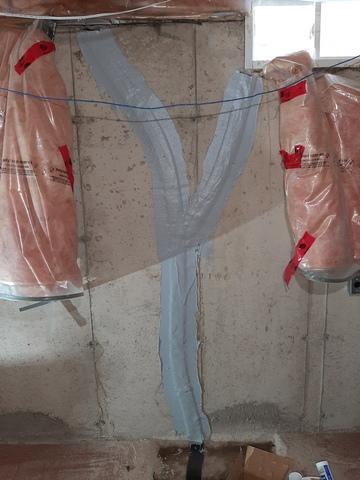
Troweled sealant
Completed troweling of the flexible sealant.
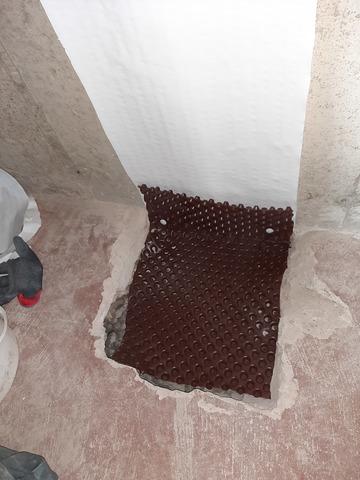
Drainage flange
This piece is put over the footing to direct any moisture to to the gravel bed.
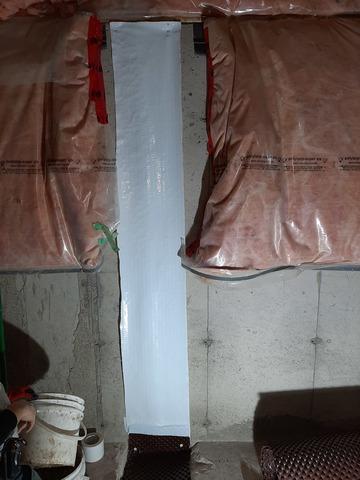
Cleanspace liner.
The cleanspace liner is a 7 layer liner that is attached and sealed over the entire repair area.
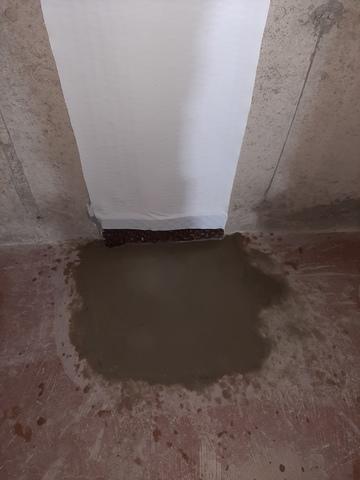
Floor is repaired.
Concrete is added back to the floor and over all the repair membranes and drainage membranes.