
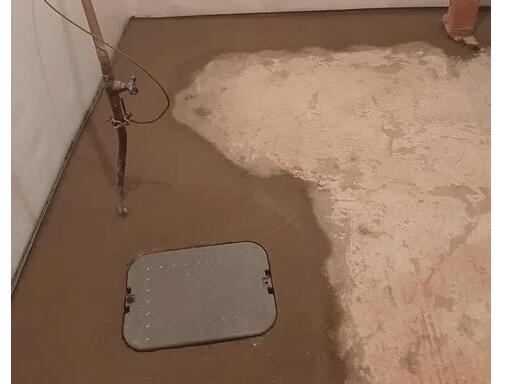
SuperSump installed
The SuperSump is installed and the floor is finished around it. It is important to note that the sump is the same height as the floor so if there are any plumbing leaks, the water will drain to the airtight floor drain.
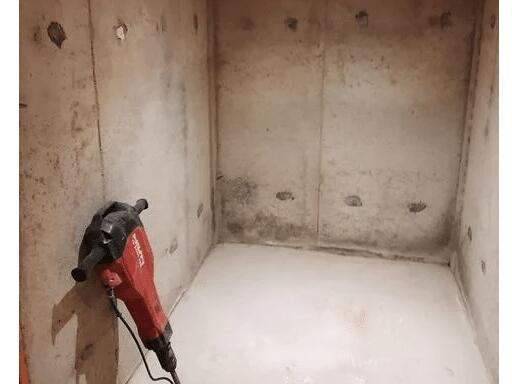
Jack Hammer ready
It's time to get to work and the best tool is the jackhammer. This tool easily opens the floor to install the WaterGuard drain system.
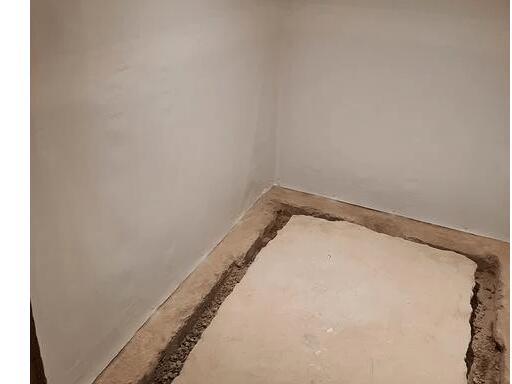
Trench is developed
A trench is developed to install the WaterGuard
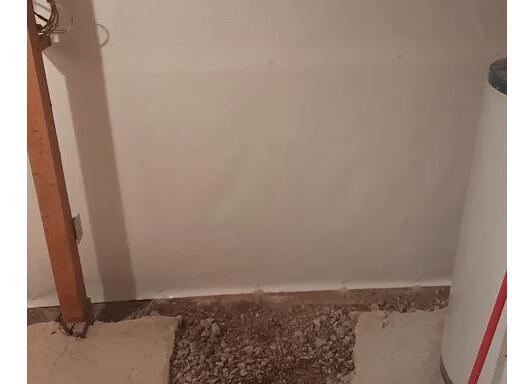
Cleanspace wall membrane
The Cleanspace wall membrane looks great and it directs any moisture into our system.
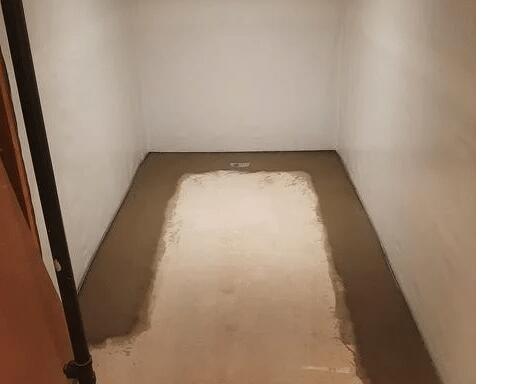
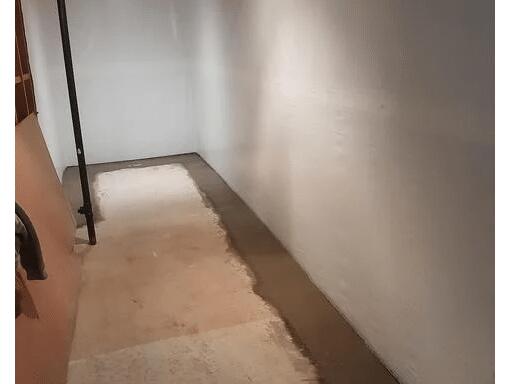
Floor finished
Concrete is added back to the floor at the original height
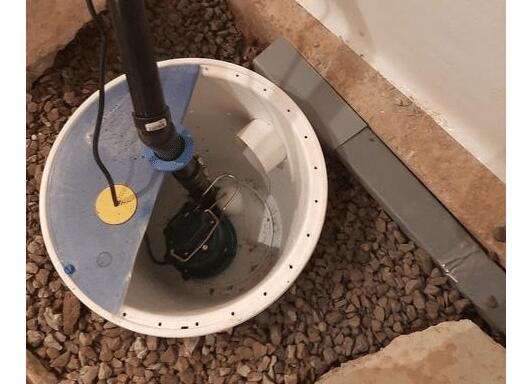
Sump liner and WatergUard inlet
The sump liner is installed and an inlet from the WaterGuard is attached.
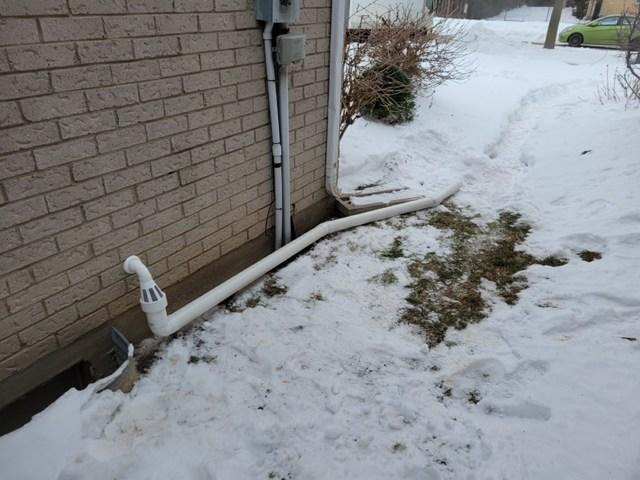
Discharge line with IceGuard
Omni installed the patented IceGuard with the discharge line. This will protect from frozen discharges.
Flangeless & Flowguard
In some cases, the floor is not thick enough for the WaterGuard to sit on the footing so we use a flangeless style and install our Flowguard to direct water over the footing
Sump hole
A 2-foot round hole is opened near the wall to install the sump system.

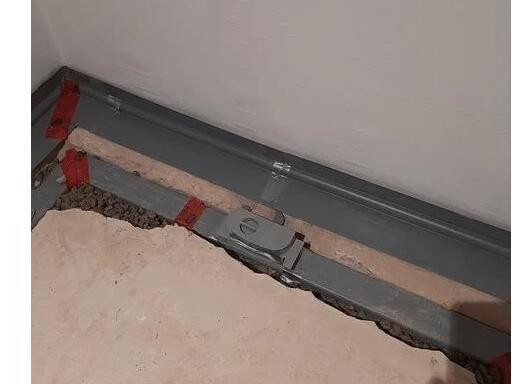
MAiline Backwater valve
The Mainline makes a clear backwater valve so that it is easy to do an inspection.
Backwater valve complete
Once the backwater valve is in place the flor around can be finished and the lid installed