
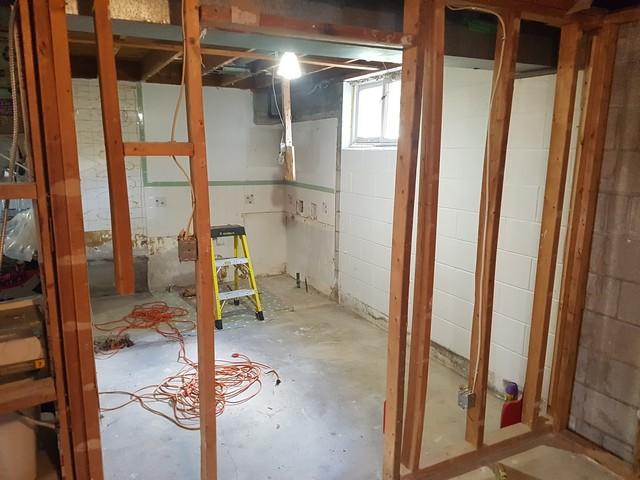
Removed finished walls
Before we even quoted this job, the customer had torn out everything so we could get a good look
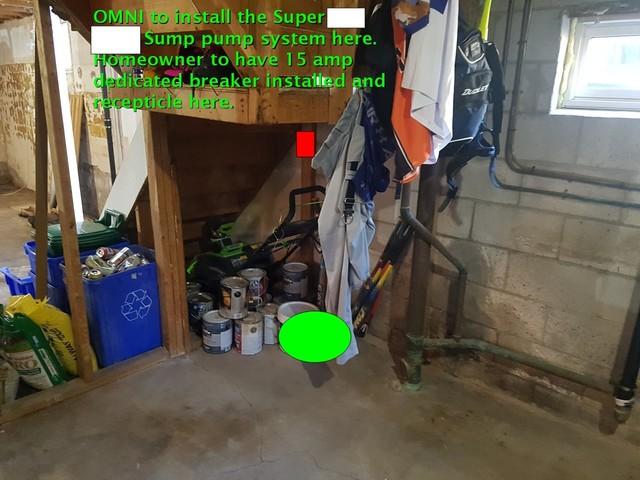
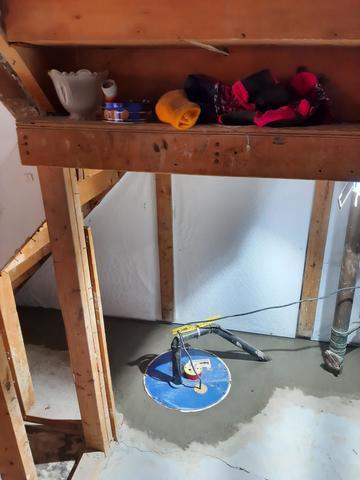
Sump location
The systems designer chose under the stairs for the Super Sump so that it was out of the way.
Signs of dampness
Efflorescence on concrete blocks is a tell tale sign that your basement is leaking.

Cracked floor.
In most cases cracking in the floor is not a problem but sometimes is severe enough that a partial floor replacement is necessary
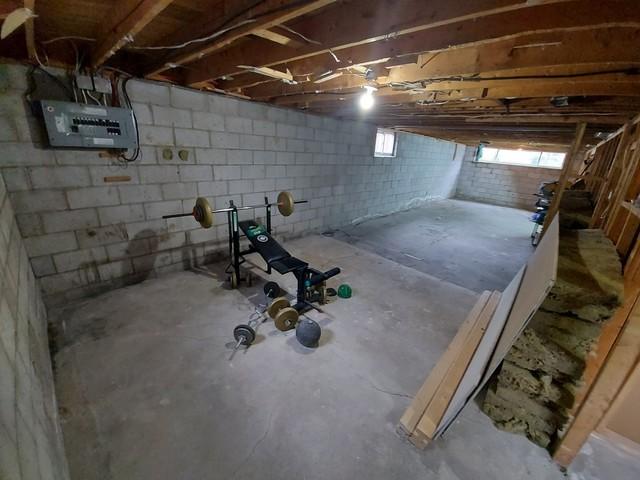
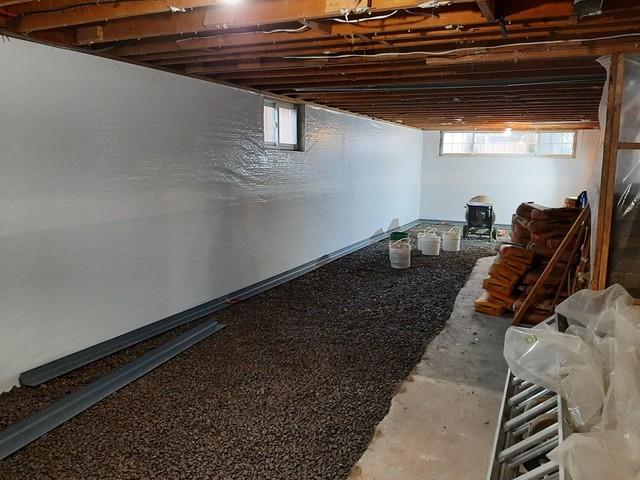
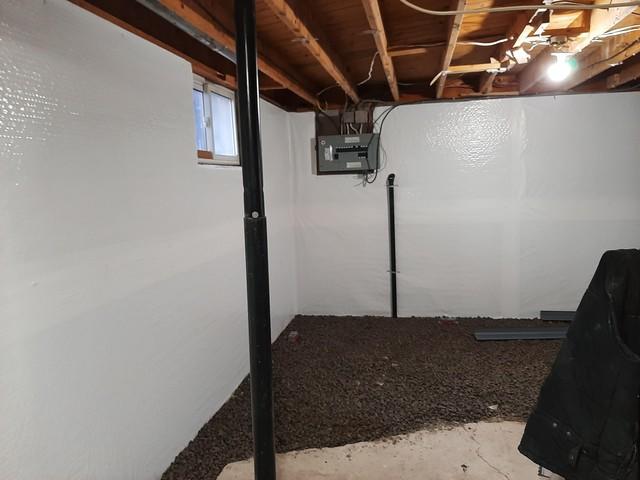
Ready for waterproofing
The basement is cleared out except for the home gym which will be removed later

Small cement mixer.
To pour this much floor, a small cement mixer is used.
Floor is ready for cement
The WaterGuard drainage system is in place and the floor is ready to be poured
Discharge emerges from the floor.
The discharge from the sump pump initially went under the floor to this area and then it emerges from the floor and up hte wall to exit the house.
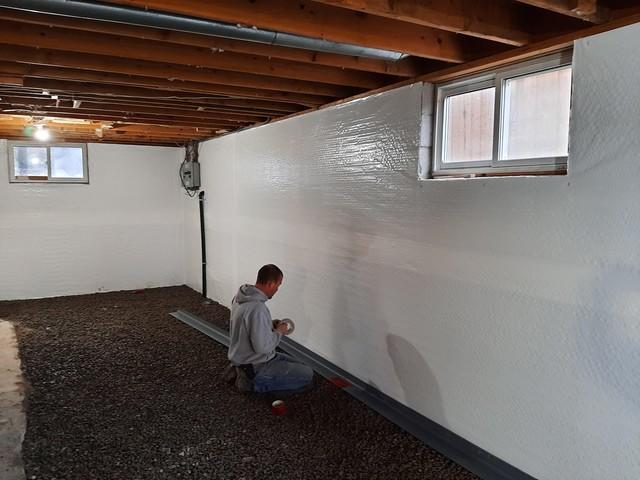
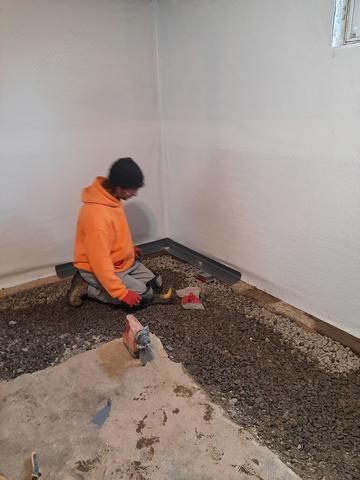
Installer at work
The drainage system is prepared by the installer
fIANL TOUCHES
Final work is prepared
Foor removed.
The Cleanspace on the wall is installed and the floor is removed before adding hte drainage system
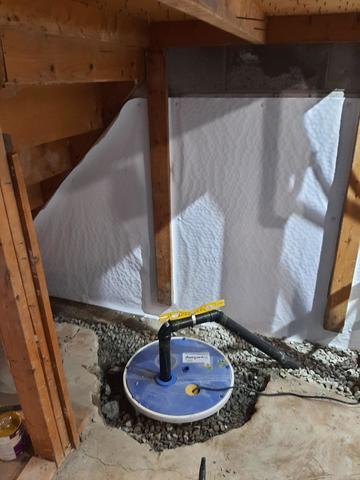
Install Sump Pump
The sump liner is intalled under the stairs just as the system designer proposed and the discharge line is put under floor to hide it from view to make it a clean looking install
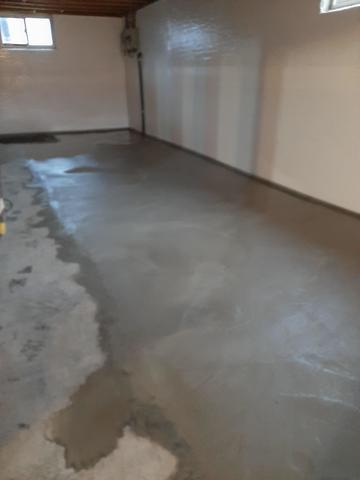
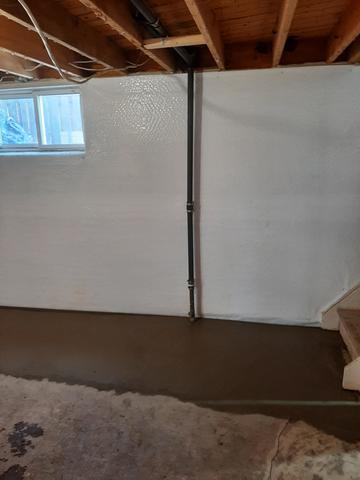
New floor
Last step is complete the concrete work
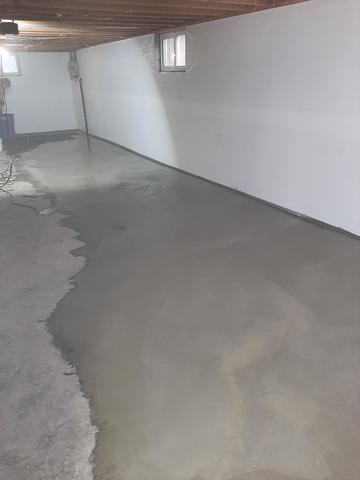
Nice level floor
Beautiful level floor ready to be refinished
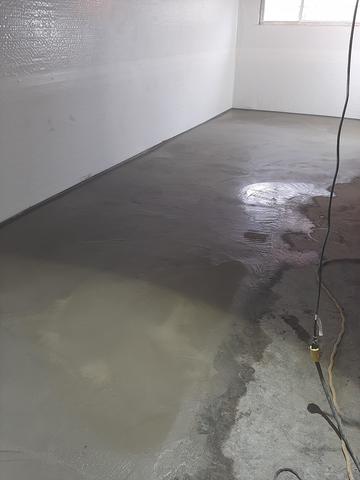
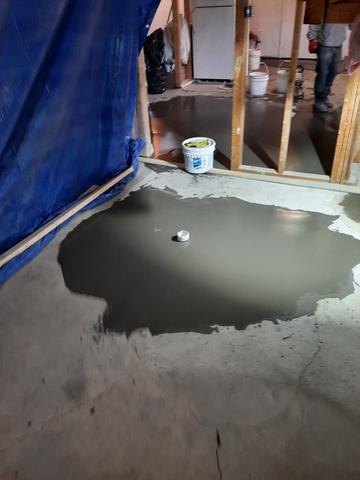
Curing concrete
We recommend 28 days for the concrete to cure before starting renos
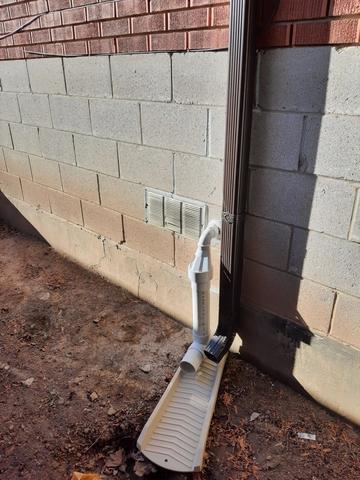
Discharge with IceGuard
Along the side of the house, the sump discharge exits the house and an IceGuard is installed to potect from freezing
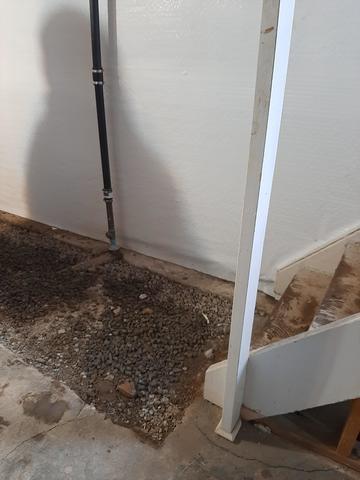
Work around plumbing
usually there is some main stacks in the way that we need to work around
Installed Sump
SuperSump is installed and discharge line is neatly put under floor. The discharge line will eventually come out and go up the wall where it exits the house
Floor leveling
Quite a few houses has the floor drain sunk very deep. This is good for protection from flood however, if they are sunk to low, it will make finishing the floor very difficult. Omni used self leveling concrete to raise the floor drain.