

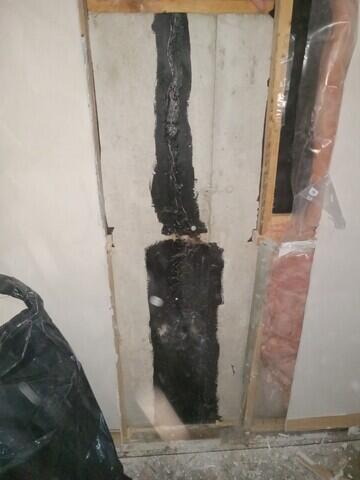
pREVIOUS REPAIR
This wall crack had been previously repaired. Omni had to scape the old repair off the wall.
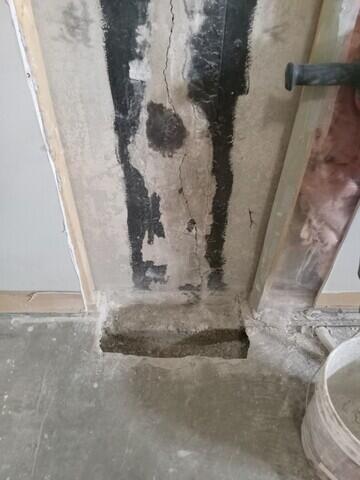
OPen the floor.
The membranes will be tucked under the floor slab so no water can ever come onto the floor.
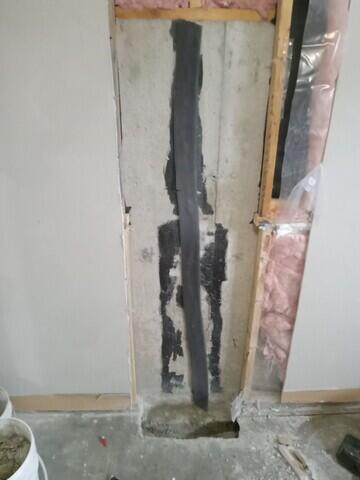
Drainage foam
After a bead of flexible sealant goes on, a 4" piece of open cell foam is added for drainage.
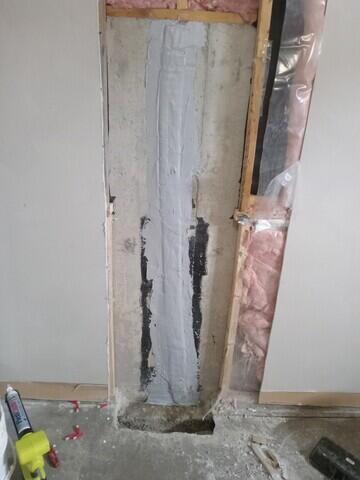
Flexible sealant troweled
Over the foam, a flexible sealant is troweled on.
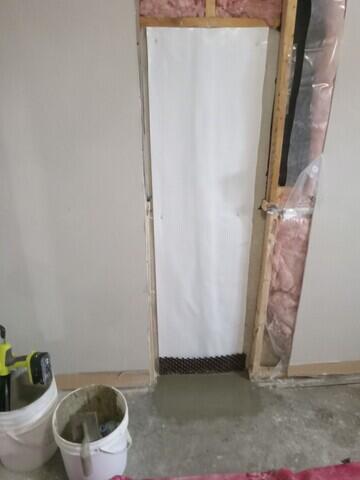
Poly covering and concreted floor
the final steps are to cover the whole area with Cleanspace wall membrane and re-concrete the floor.