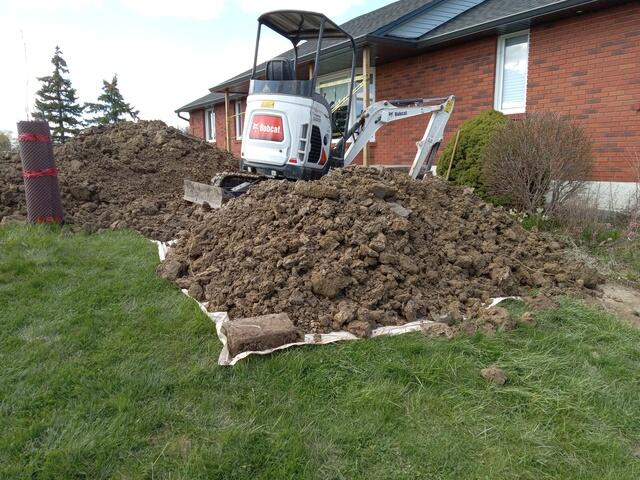
Front wall excavated
Using Bobcat, the wall is excavated to take the pressure from the clay off the wall.
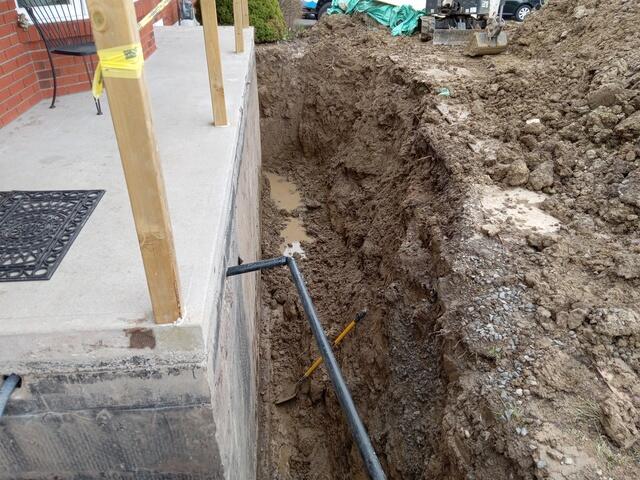
Soil removed
Once the soil is removed, Omni can start to straighten the wall.
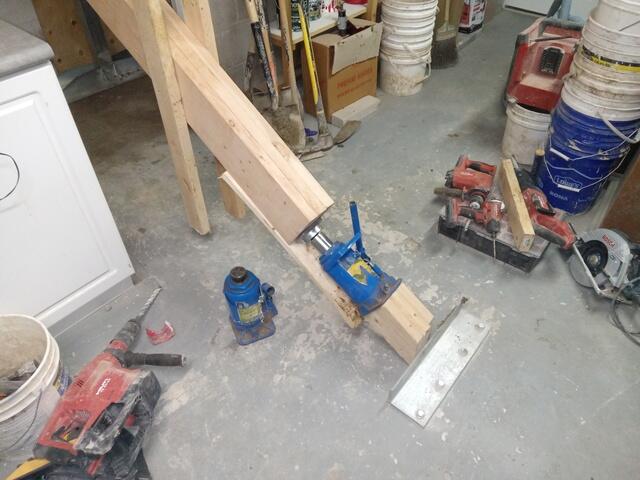
Pushing the wall
A hydraulic cylinder presses the wall back to straight.
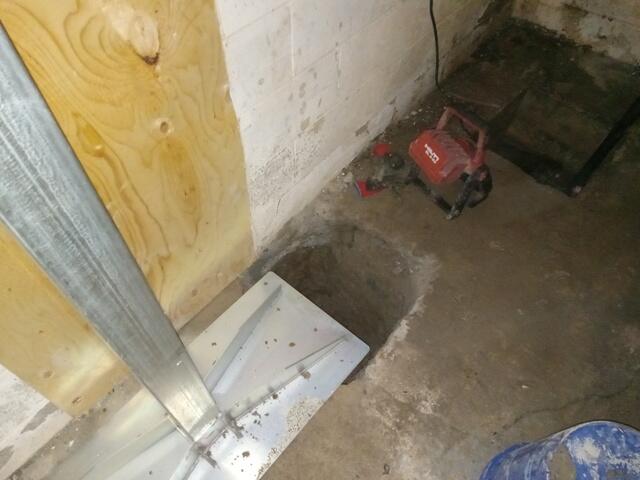
Ceiling is supported temporarily
To take more pressure off the wall, the ceiling is supported by installing temporary jacks.
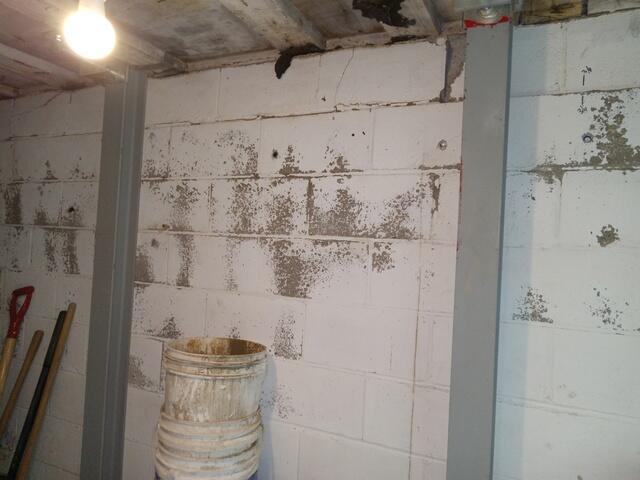
Powerbraces installed
The Powerbraces are attached to the footing and the ceiling to support the wall from moving back. These "I" have adjustment brackets will allow the homeowner to adjust them later if needed.
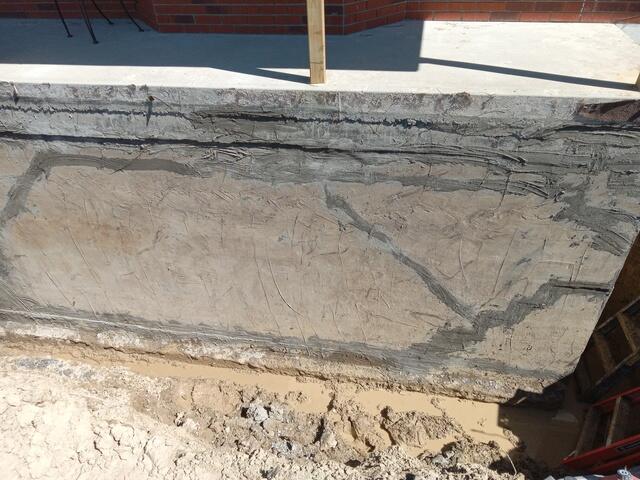
Wall has been straightened
Once the wall is straight, waterproofing can can be done in preparation for backfill.
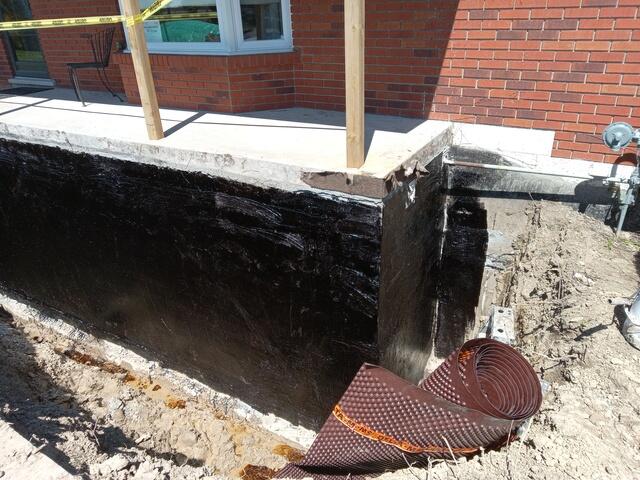
Tar is applied
Tar helps to keep water from being absorbed into he blocks. This only last for a while. It is non-permanent.
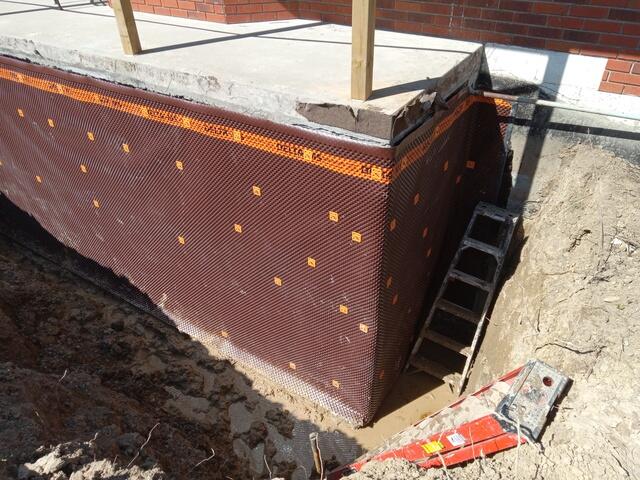
Delta wrap
Another step is to wrap the wall with Delta drainage membrane to drain water away from the foundation wall.
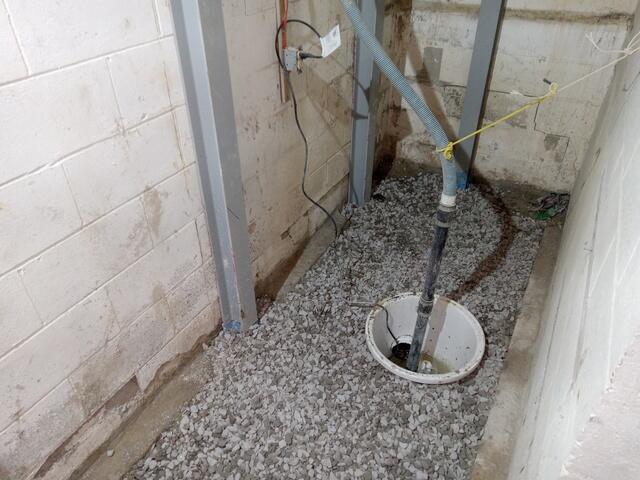
Sump liner installed
Once the wall is stabilized, Omni can get to work on waterproofing. A sump liner is installed.
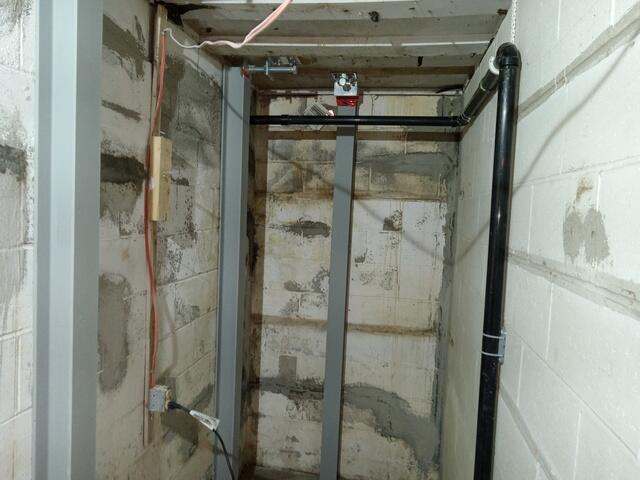
Powerbrace
After the wall is straight, Omni can add Powerbrace to make sure that it doesn't move again.
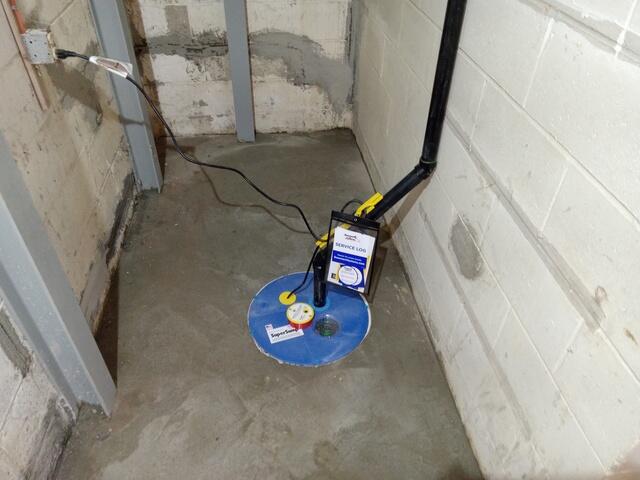
Sump pump
Our Supersump is installed. This features a Zoeller cast-iron pump.
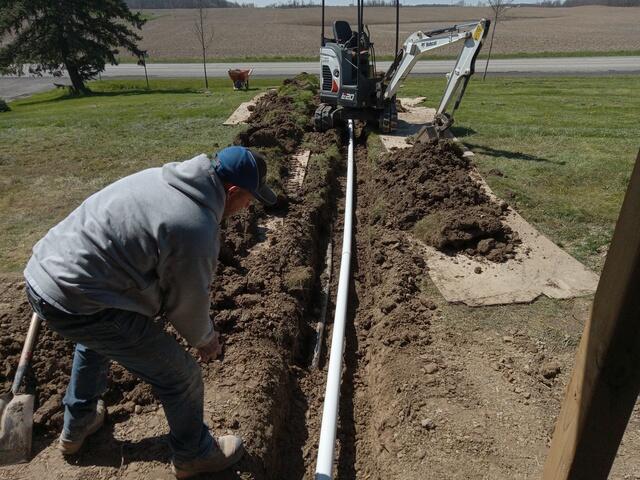
Buried discharge
The crew works to bury this discharge out to the ravine at the front of the house.
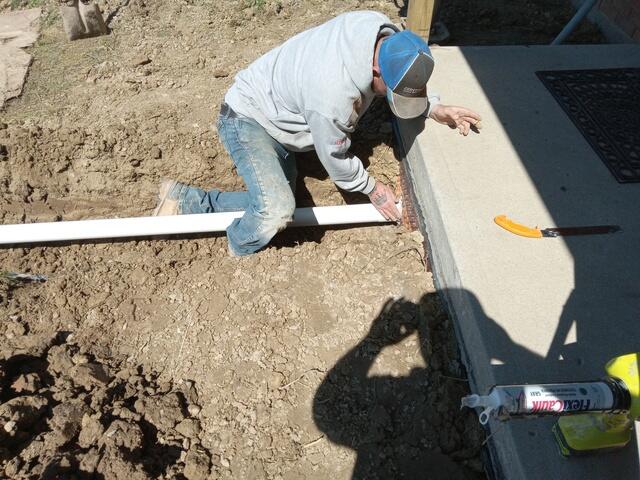
Connecting the discharge
A worker here connects the discharge from inside the cold cellar.

