
Open trench and install Waterguard
THe first stsep is to open a trench along the wall and install the Waterguard. Wateguard is a patented drain system.

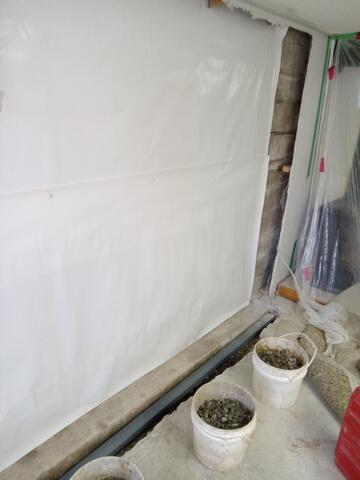
Install wall membrane.
A membrane is attached to the wall to direct any moisture into the waterguard.
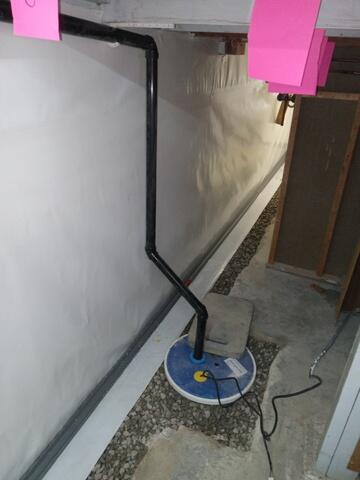
Add Sump
Add a sump to the floor and connect the waterguard to the liner.
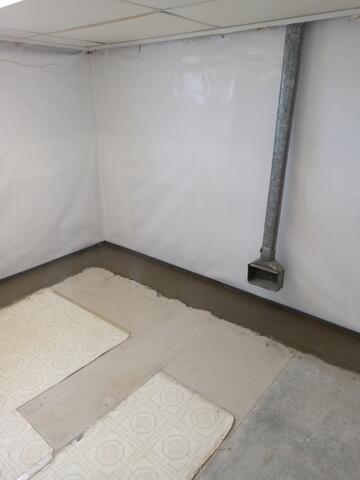
concrete the floor
The concrete is mixed right in the home and the trench is covered with fresh concrete.
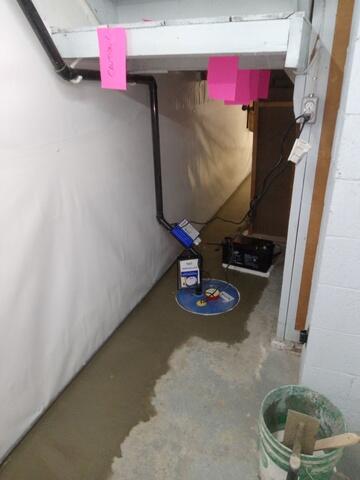
add pumps and battery back up
The pumps are installed along with the Ultra-sump battery back up system. The floor is re-concreted.