
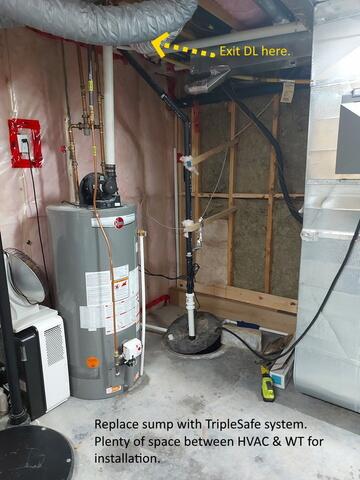
Replace the single pump liner
The old sump system is under sized for the amount of protection he needs
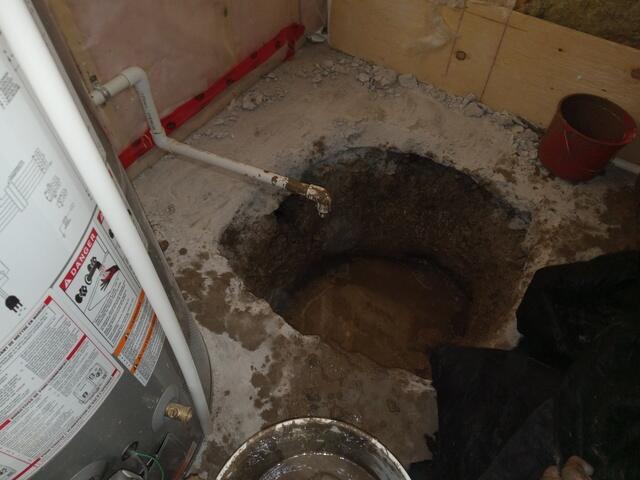
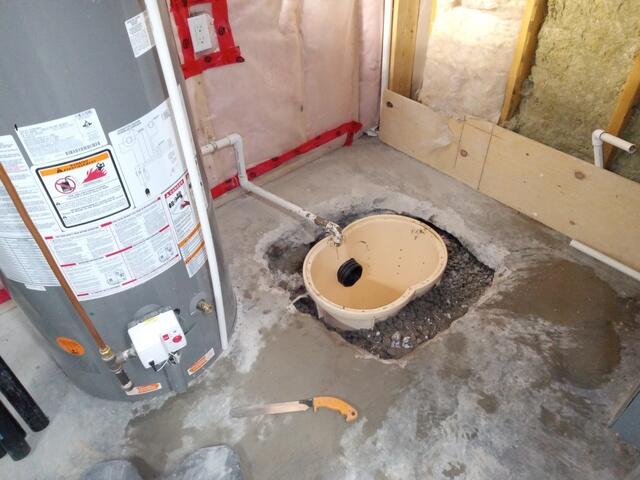
Remove old liner
First step is to remove the existing liner.
Triplesafe liner
Next, set the Triplesafe liner in place
Add the weepers
It's important to add the existing weepers and furnace condensate line.
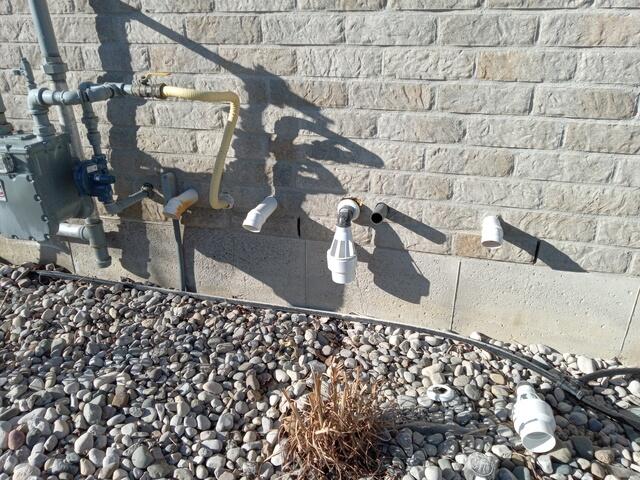
Add the second discharge
It's important to use a secondary discharge line in the case that the first is compromised.
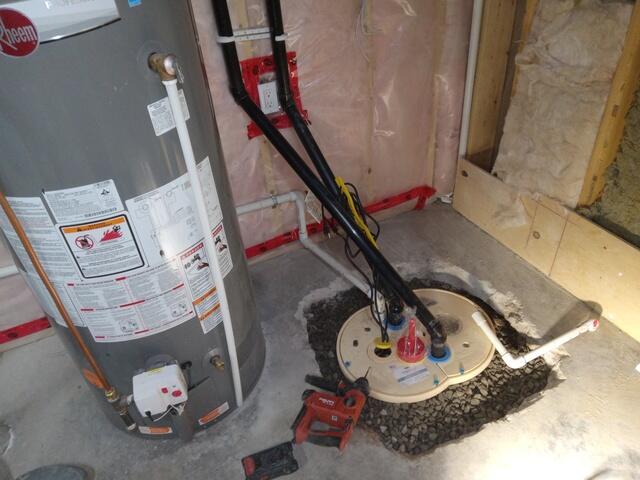
add pumps and lids
After the 3 pumps are installed the easy to open two piece lid can be installed
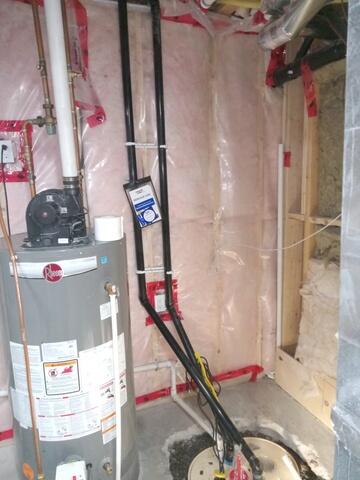
2 Discharge lines
The two discharge lines are secured against the wall
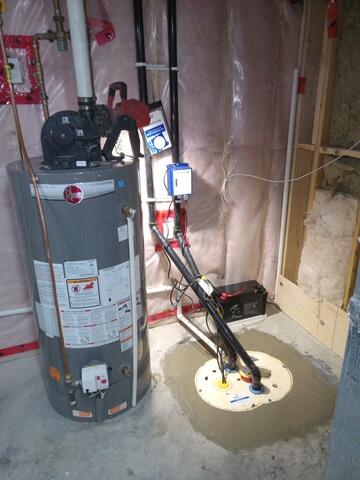
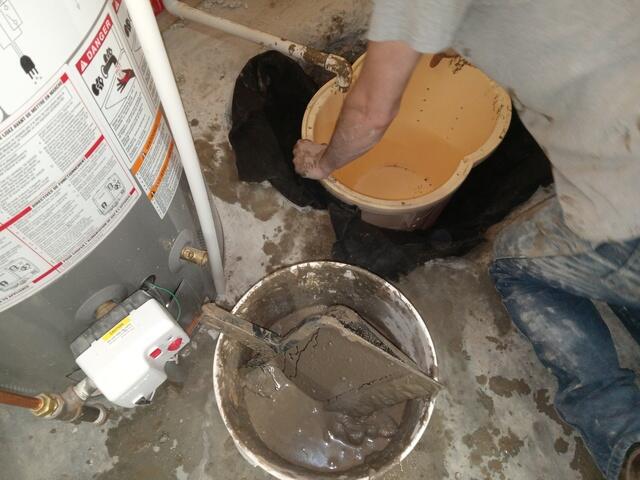
Floor is finished
New concrete is added to finish the floor.