OPen the floor
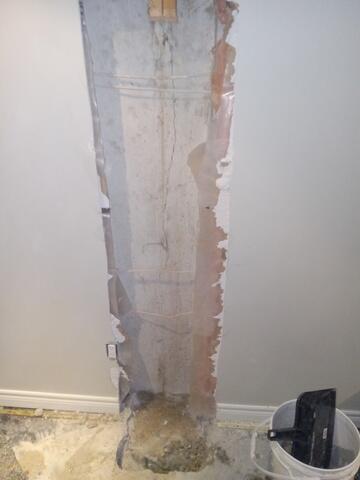
The first step is to open the concrete flor and expose the gravel bed.

3 part sealant
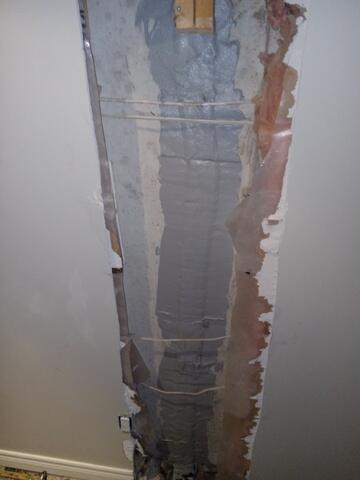
This step includes a 3 part sealant. First a bead of flexible sealant in the crack, then a 4" wide drainage foam and lastly troweled on flexible sealant.

Troweled sealant
THis step will keep any moisture from coming into the wall.

Add a vapor barrier
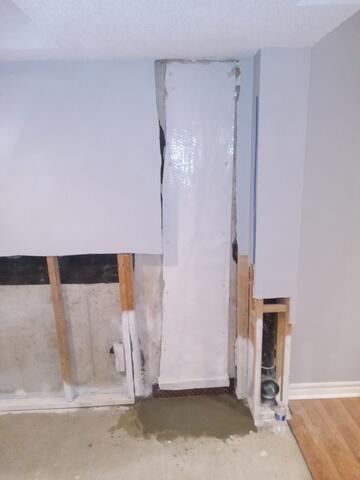
Last step before re-concreting the floor is to add a vapor barrier so that no moisture can come through.

