

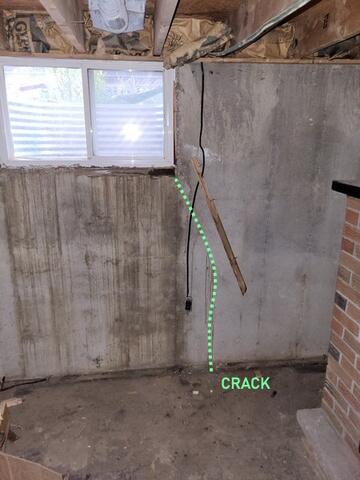
Wall crack in corner of window
This is the most common location of wall cracks. this is the most stress on a wall.
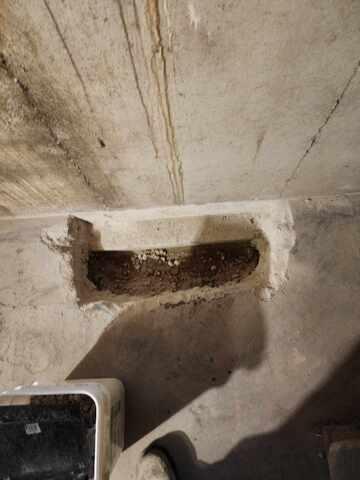
Dry well
The first step is to open the floor and create a dry well.
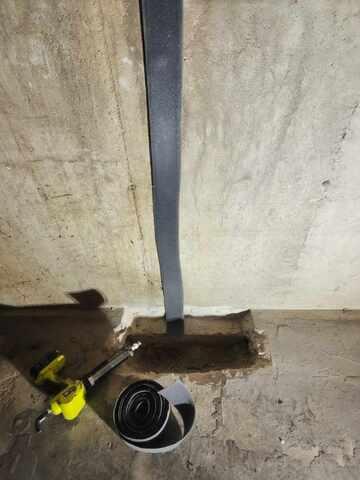
Drainage matting
Afer the second step (not shown) wich is to add a bead of flexible sealant to the crack, a 4" open cell foam is applied over top to drainage
Flexible sealant over top
A Flexible sealant is applied over the foam drainage foam. THis sealant is then troweled over to seal everything.
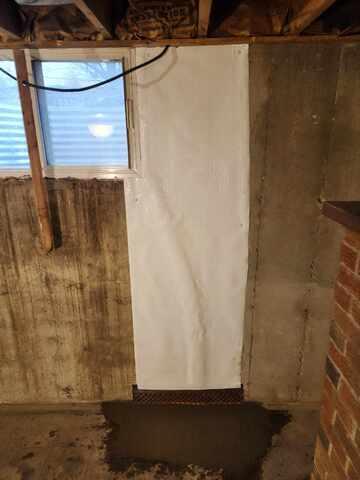
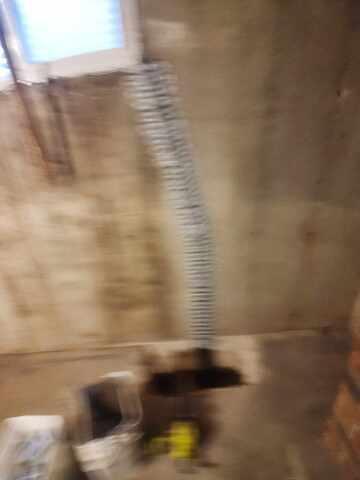
Last steps
The last two steps is to apply a waterproof membrane. This membrane can never come off the wall and it features an anti-microbial agent to prevent mould growth. Then the floor is Re-concreted to original height.