
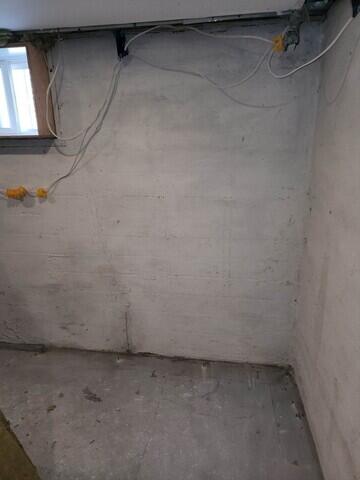
Before location
This is the location of the new sump
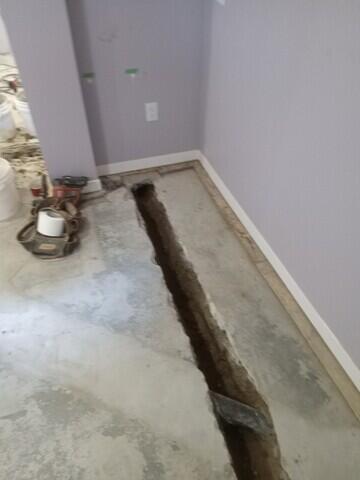
Under floor drainage
The floor is opened up to install a under floor drainage system.
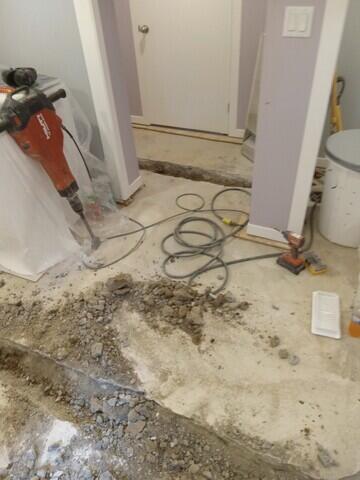
Jack Hammers are used to open the floor
Jack hammer are the most efficient way to open the floor.
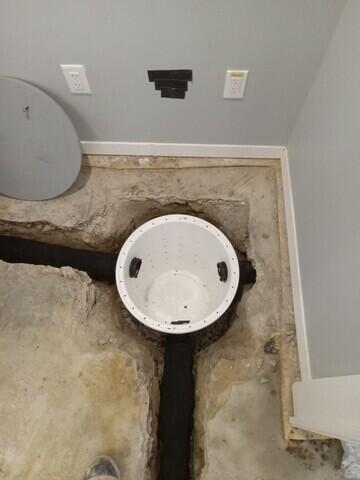
sump liner installed
The SuperSump liner is installed and the drainage system tiles are integrated in tot sump
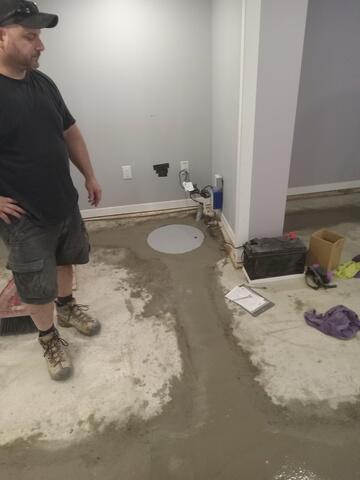
Concrete re-finished
After the sump is installed along with the drainage system, the floor can be re-concreted back to original height.
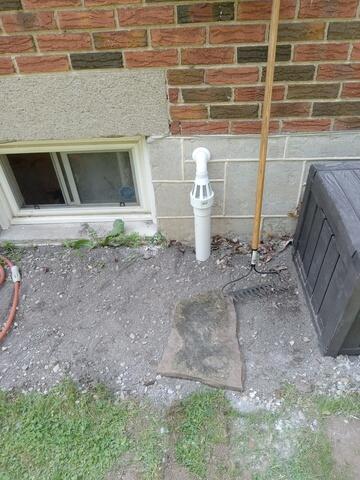
Discharge line with Iceguard
THe discharge line exits the house at the rim joist and the IceGuard prevents the pump from failing due to frozen lines