
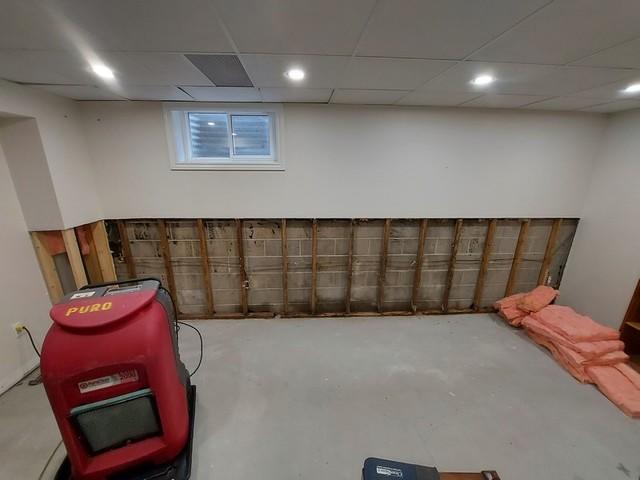
Drywall removed to expose wet studs
So many times we find wet moldy studs behind the drywall that shows signs of a leaky basement. Also notice the dark rea on the blocks. This is water sitting inside the blocks and have to be removed.
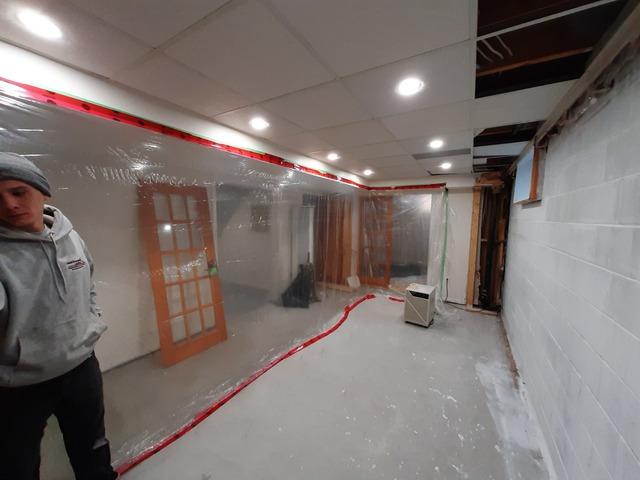
Dust control
The installers use plastic cutains to control the dust.
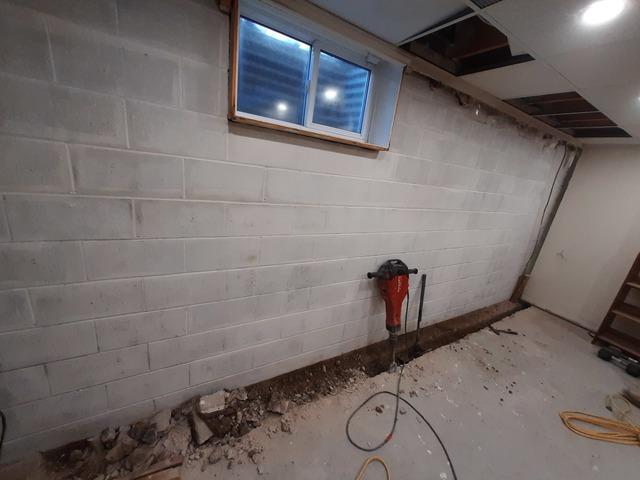
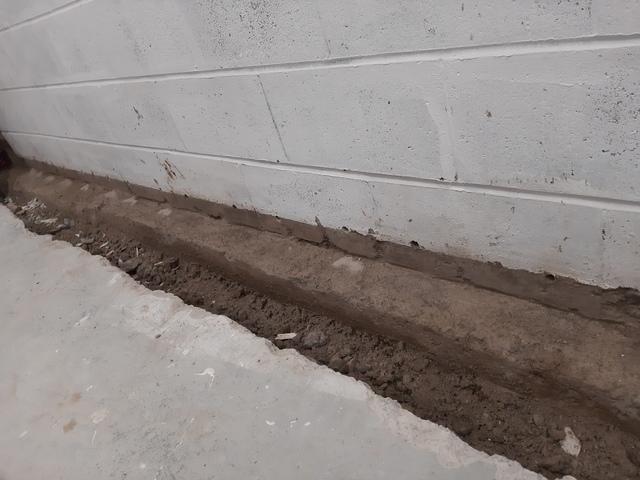
Trench is opened up
The first step to installing waterGuard is to open up a trench along the wall.
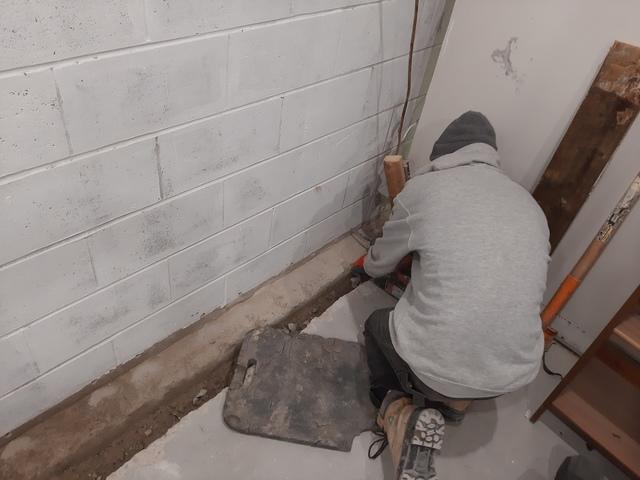
Weep holes.
To draint he water from the walls, weap holes are drilled into the cavity of the blocks
Install WaterGuard
Omni technician starts to install the WaterGuard.

new concrete
It is important to restore the concrete floor to the original height.
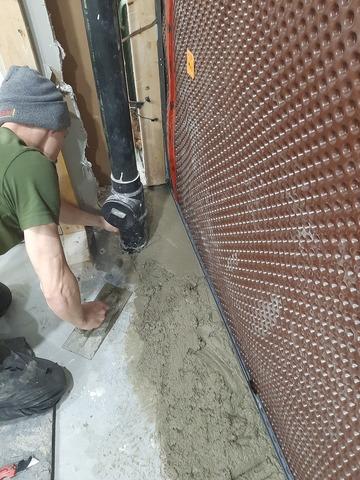
Trowel the concrete
The floor is restored with the original height and is smoothed out by the installer.
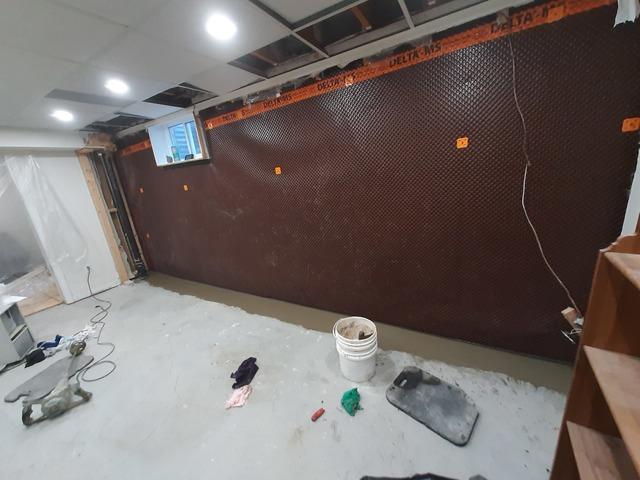
Delta wall
The Delta MS is installed onto the wall and the floor receives fresh concrete.