
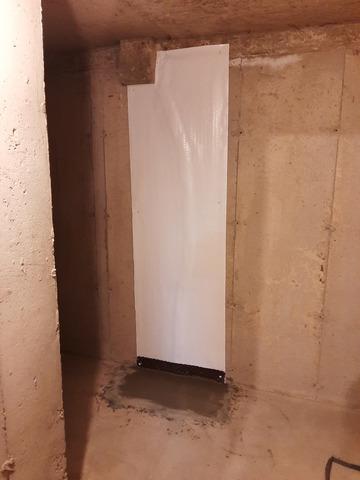
Completed wall repair
This is what the final repair looks like. The last two steps is to add a membrane over the area and re-concrete the floor.
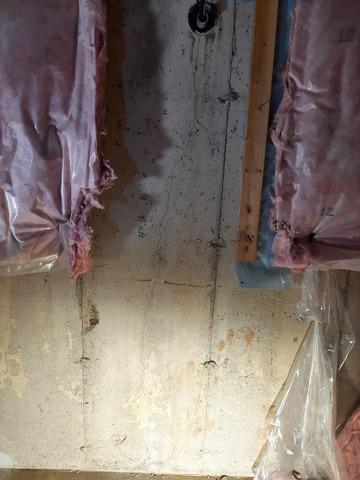
Before
A clear crack that goes from he top of the wall to the footing below.
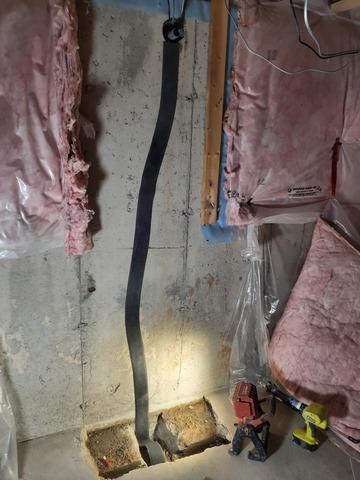
Floor opened and the repair starts
This shows the first 2 layers. a sealant is put into the crack and then a open cell foam for drainage is put over top
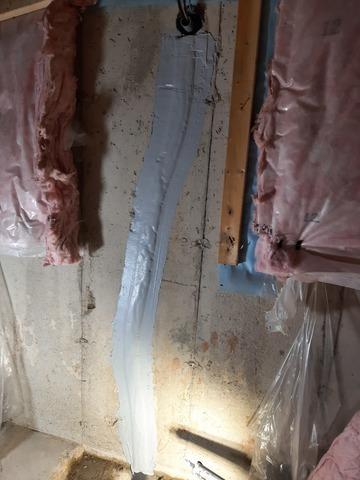
Flexible sealant over foam
After the drainage foam is installed, a flexible sealant is troweled over top.