
Powerbrace
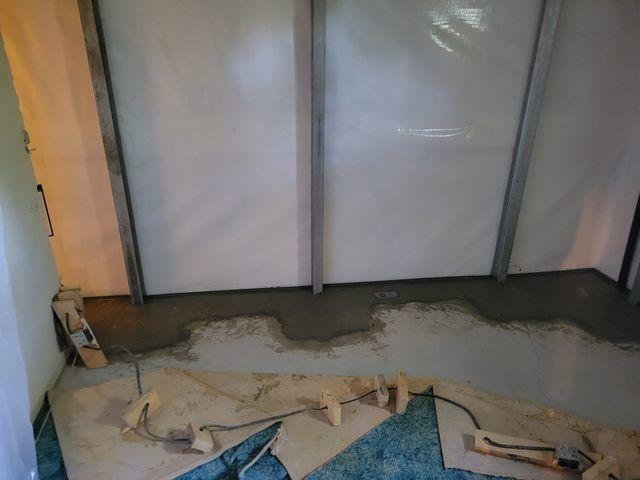
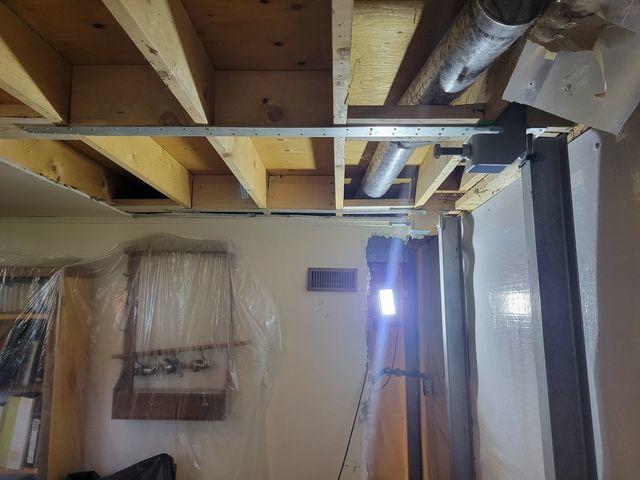
The finished process looks like this. The I beams called Powerbrace are installed along with the drainage system and the wall brane.
Powerbrace is attached to footing
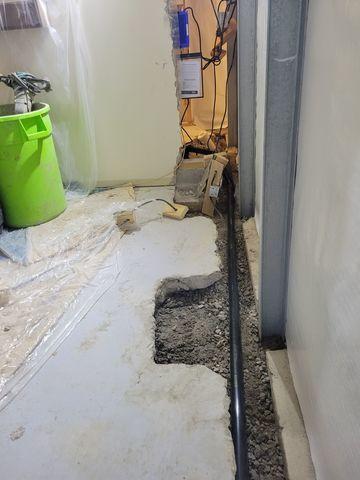
The Beams are attached to the footing anf the floor is opened up for the drainage system and the sump pump.
Footing bracket.
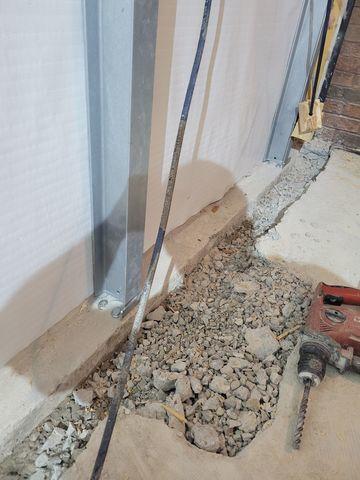
When the footing is largest enough, the powerbrace can be attached right to the footings.
Powerbrace footing
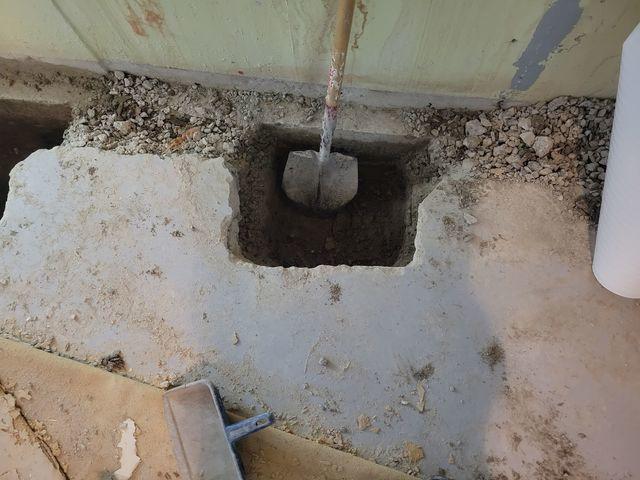
When the footings are thinner, we have to create a footing for the Powerbrace.
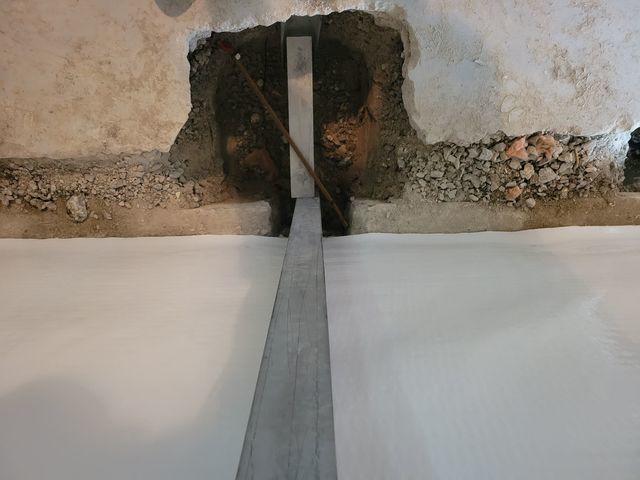
Prepare for the PowerBrace footing
The PowerBrace footing is made of 2 pieces of "I"beam
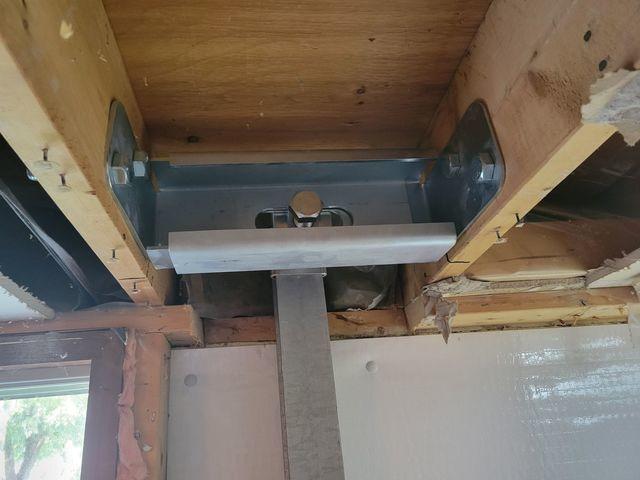
Bridge Bracket
When the floor joists are perpendicular, a bridge bracket is used attach the top of the Powerbrace to. This will distribute the stress though the flooring system.
Old Style Bracket
This older style bracket is used when there is no room to add the Bridge Bracket.
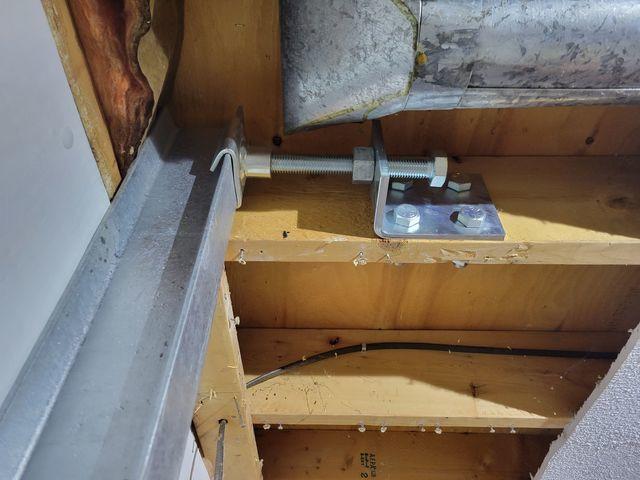
Lever Bracket with Bracing
When the floor joists are parallel tot he wall, a Lever Bracket is used and the the bracing is used to strengthen the floor joist system.
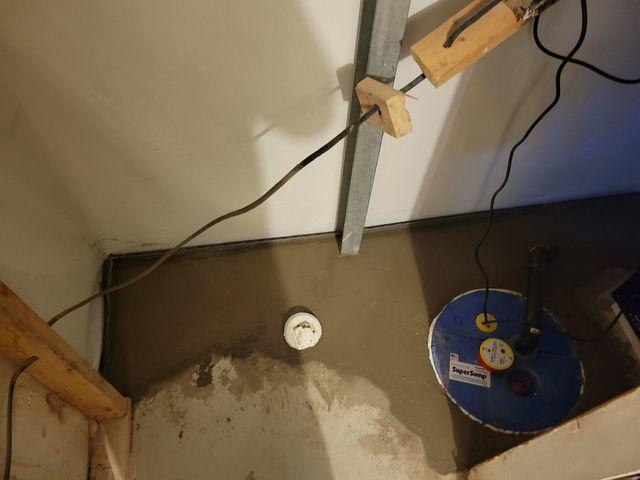
Sump added and floor is finished
Once everything is in place, the floor is re-concreted back.
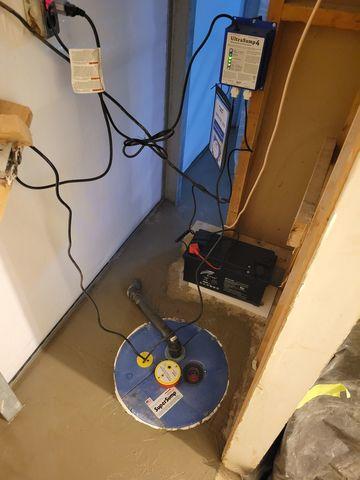
Sump and Battery back-up
The discharge line is cleverly put under the concrete floor and out another location for a finished look. A battery back-up is added for protection of power failure.