
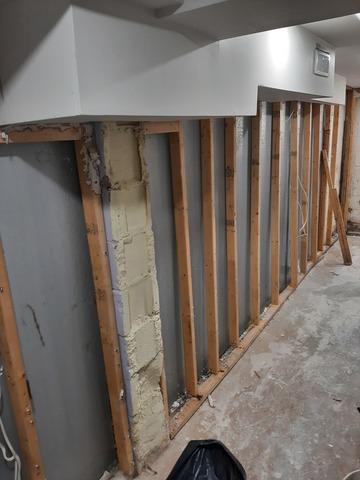
Remove studs
First step is to remove the finished wall
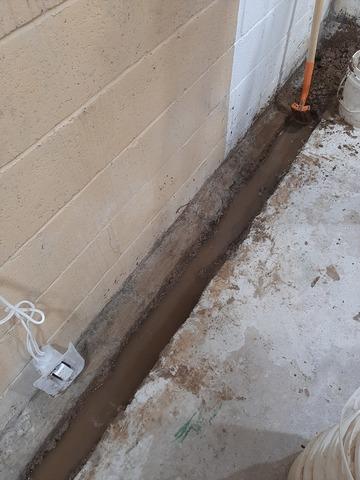
Trench is opened up
To accept the drain system, a trench in the floor is opened up
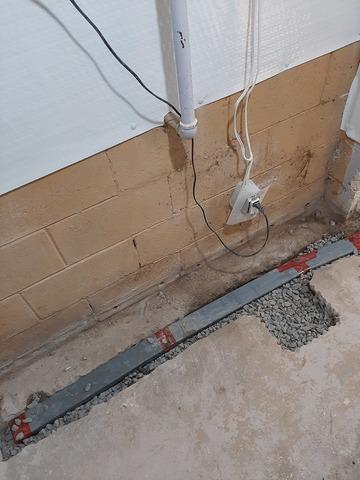
Patented drain system
The patented drain system called Waterguard is installed under the floor
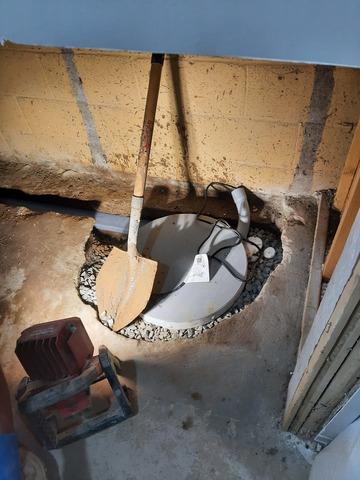
Sump liner
A large hole is dug and the sump liner is installed level with the floor
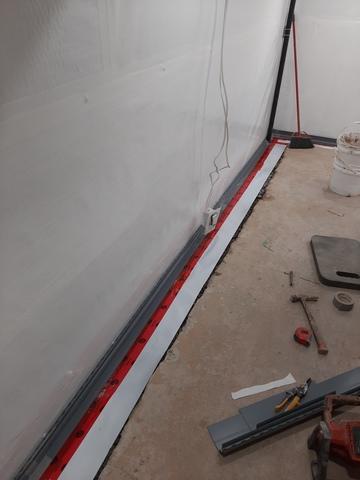
Wall membrane is attached
A drainage membrane is attached to the wall to allow moisture to drain down tot he waterguard
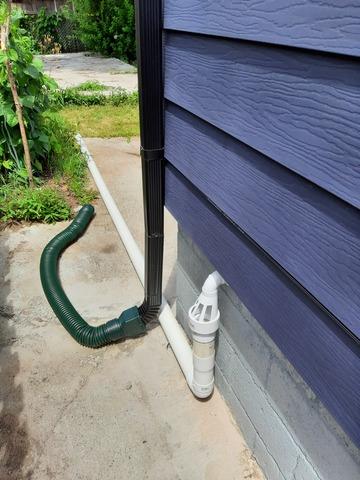
Discharge with iceguard
The sump discharge line goes outside the home and the patented IceGuard is added to prevent freezing
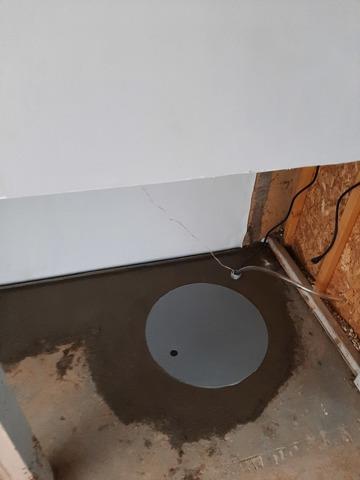
Sump with Tufftop lid
The sump is fitted with the incredible Tufftop lid. It is made from boat hatch material and can withstand someone jumping on it. The floor can be restored right over top

Floor restored
Finally the floor is restored back to original height