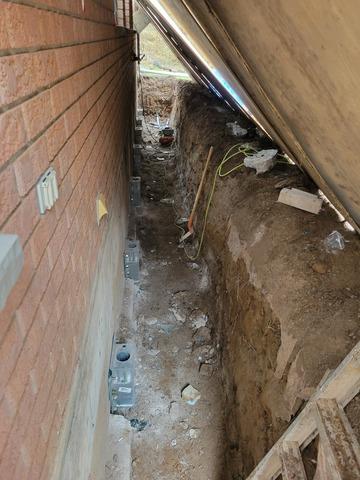
Attached pier brackets
After the soil is excavated, the pier brackets are attached.
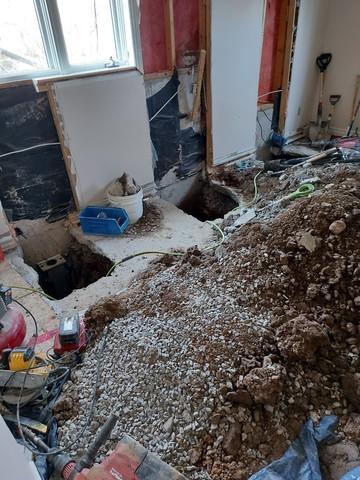
Interior Holes
Three push piers were in the design
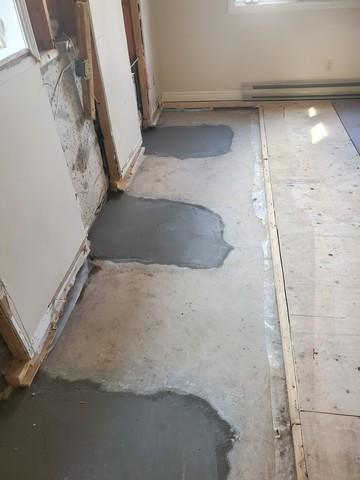
Floor is restored.
Everything is installed and secured and the floor is restored.
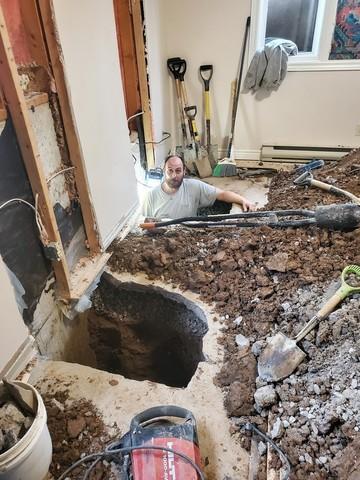
Pot holes dug for interior piers
Because this is a walkout basement, the footing is 4 feet below the floor so large potholes are dug to install the pier brackets. These are filled later
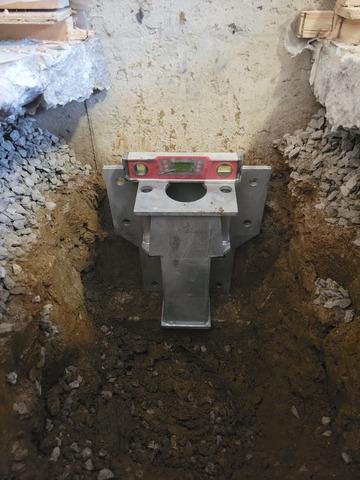
Check for level
In order for the piers to have the most support, they must go in straight so the brackets have to be level.
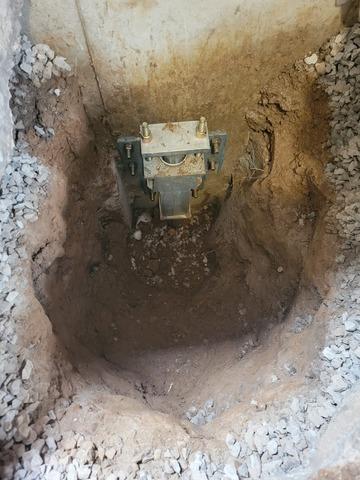
Attached pier bracket on inside.
To make sure the pier tubes are closest to the wall for the most support, the foot is shaved off where the bracket is installed. The push piers will now act as a footing but more stable
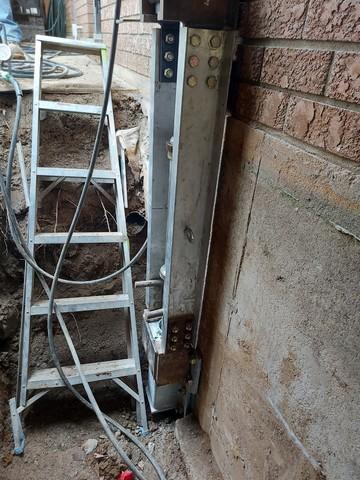
Push stand
This stand temporarily attaches to the pier bracket to hold the hydraulic cylinder that pushes the pier tubes.
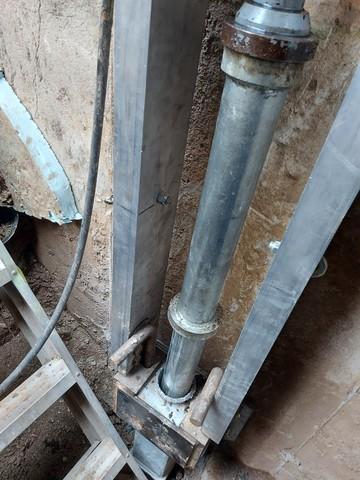
Pushing the Pier Tubes
The large hole in the bracket is so that the pier tubes are pushed through to support the foundation
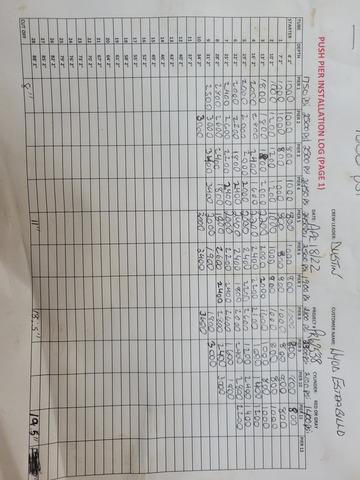
Pier log
The pressure of the hydraulic cylinder is recorded every 2 feet as the tubes get pushed. When the desired pressure is reached, the installer will wait a while to make sure this is a true number then the tube is capped
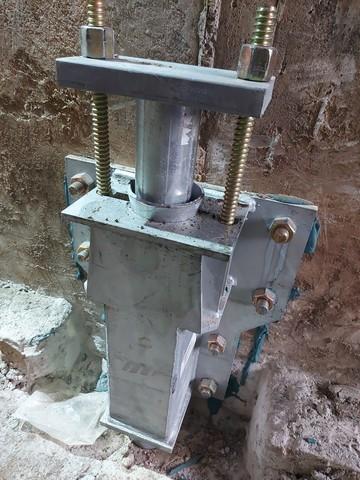
capped Tube
Once the tube is installed to the correct pressure. (Depth is determined by pressure on the tube) the tube is capped off so that it cant come up. this cap is also used to lift the house
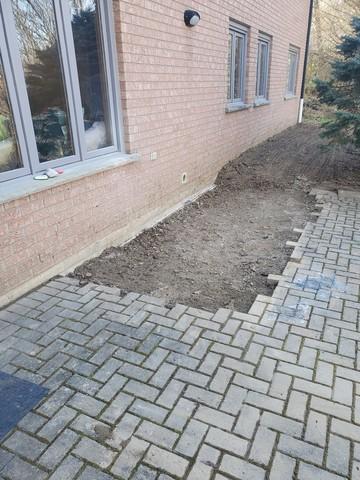
BAckfilled
On the exterior, the wall is waterproofed and backfilled
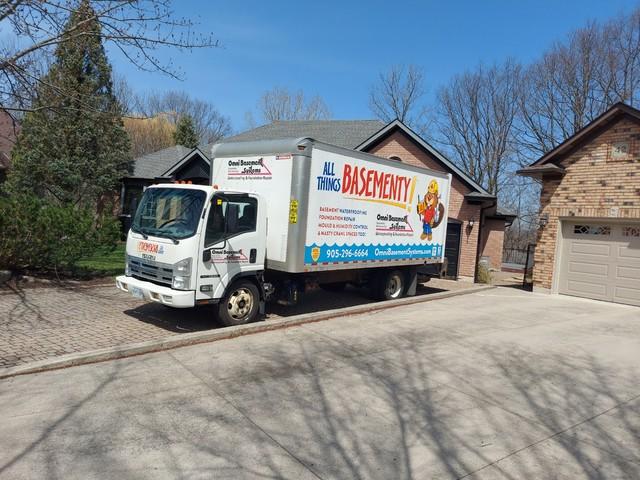
our tuck
All this is done with the use of our 16-foot truck


