
Prepare for Flexispan
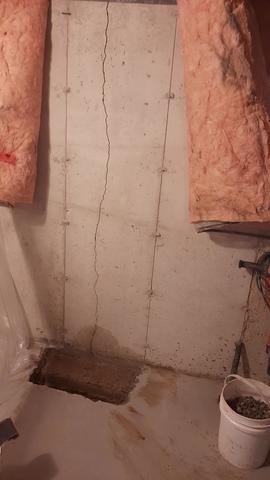
First step is to open the floor

Expose footing
It's important to expose the footing and gravel bed. Then they can dig out some earth and addmore gravel for drainage.
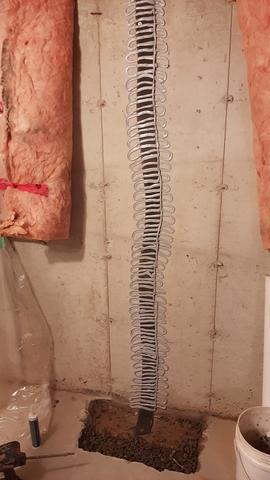
Add drainage sytem
The first line of defense is to add a flexible sealant to the crack (not shown) then a 4"wide 1/4" foam drainage material. Then a second flexible sealant is applied.
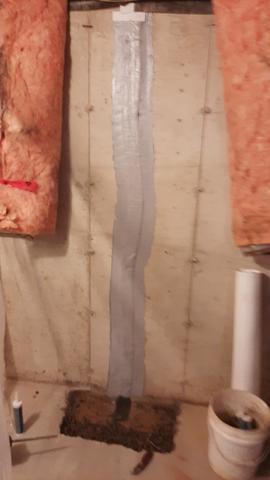
Flexible sealant applied
The second flexible sealant is troweled over
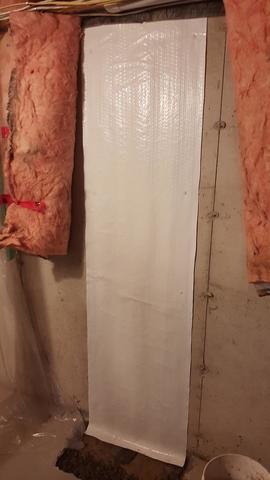
Patent Cleanspace
Over the entire area, a patentent Cleanspace membrane is attached to the wall and the edges are caulked and extends down over the footing
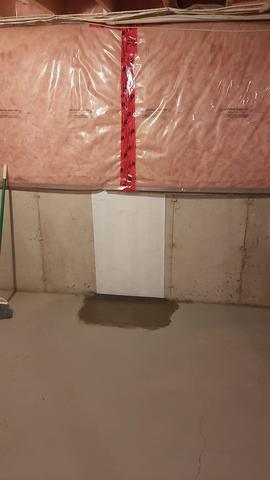
Finished crack repair
Once all the products are applied, the floor is re-concreted and the original insulation is taped back in place.